 By Lauren Holland
Updated November 2026
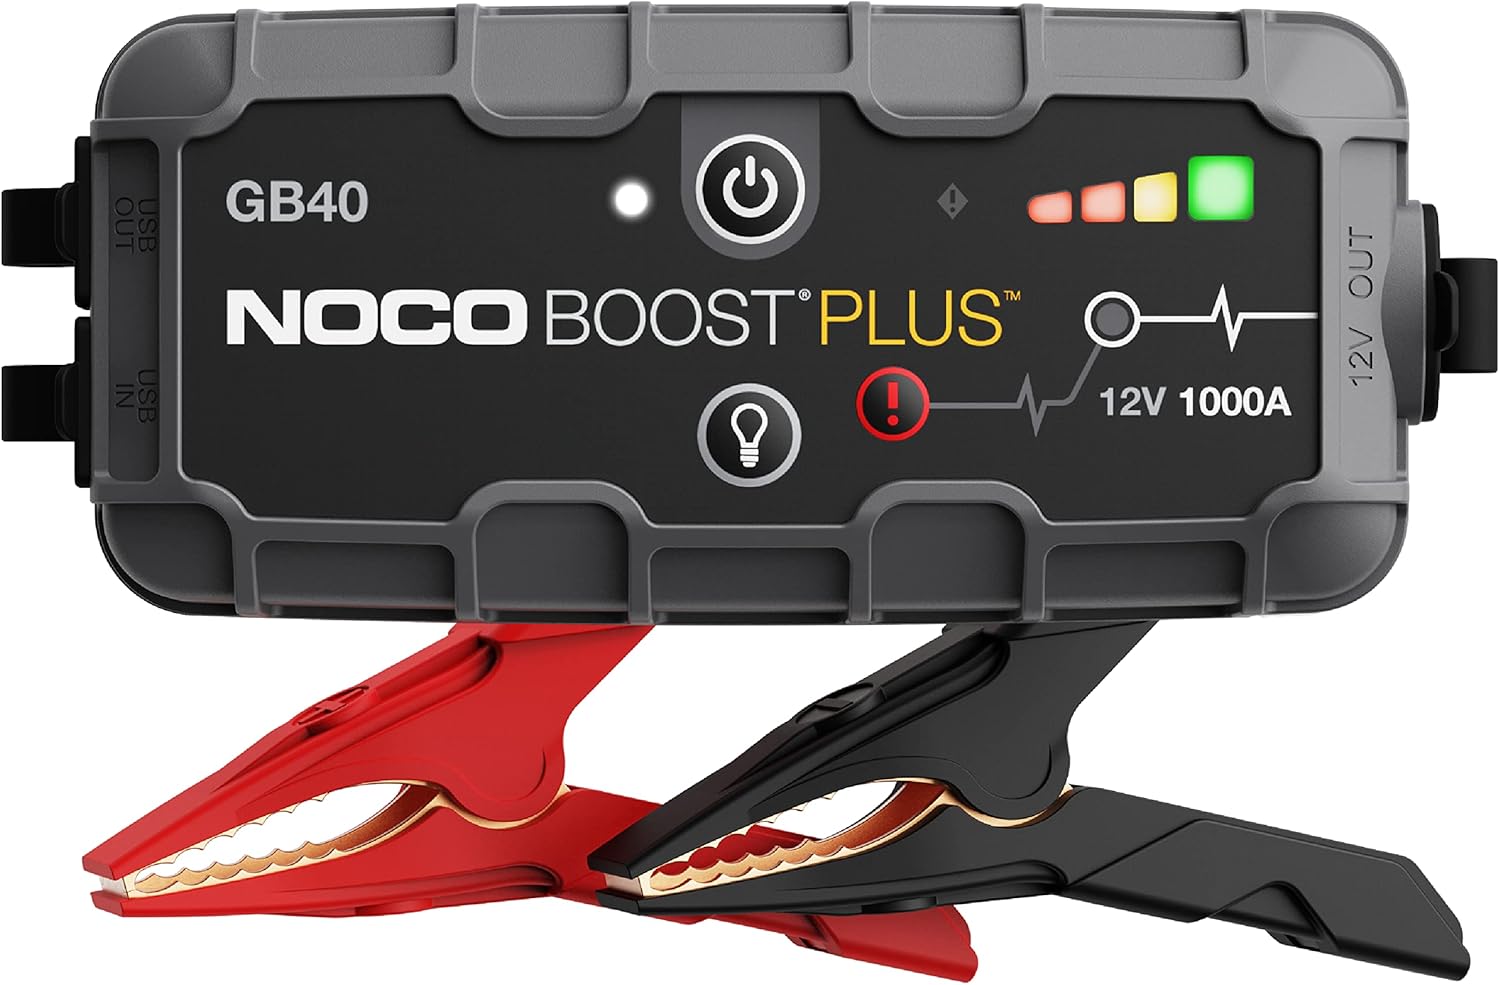
A battery charger kit for car use lets you bring a weak or dead 12-volt battery back to full charge without waiting on a tow truck. The key is matching the charger to your battery type, connecting the clamps in the right order, and choosing the right charge mode. This guide walks through each step so you can charge safely in your own garage.
Choose a Kit That Matches Your Battery
Most passenger cars use a 12-volt lead-acid battery, either flooded, AGM, or enhanced flooded (EFB). Check the label on the battery top or the owner’s manual before you buy or use a charger. Many kits list supported battery types and amp-hour ranges, and you want the charger rated for your battery’s chemistry. A charger with an AGM setting or a dedicated AGM mode is safer for absorbed glass mat batteries.
Shopping for one? See our guide: Car Battery Charger vs Jump Start (2026): Which Is Better for Your Dead Battery?.
Look for a kit with an output rating that fits the job. A lower amp output (roughly 2 to 4 amps) is gentler and better for maintenance charging overnight. Higher outputs, often 10 amps or more, bring a battery up faster but generate more heat. If you are unsure, pick a smart charger with automatic voltage detection, since it adjusts the output as the battery fills.
Gather Your Tools and Prepare the Vehicle
Before you connect anything, gather the basics and prepare the car:
- Battery charger kit with clamps, or a smart charger with insulated clamp leads
- Safety glasses and nitrile gloves
- A wire brush or terminal cleaner
- A multimeter to check resting voltage (optional but useful)
- Baking soda and water for cleaning acid residue
Park the car in a well-ventilated area, turn off the ignition, and remove the keys from the cabin. Lead-acid batteries can release hydrogen gas while charging, so never charge in a sealed, unventilated space. Keep sparks, flames, and smoking well away from the battery.
Connect the Charger in the Correct Order
Connection order is where most mistakes happen. Follow this sequence:
- Make sure the charger is unplugged from the wall outlet.
- Clip the red (positive) clamp to the positive battery terminal, marked with a plus sign.
- Clip the black (negative) clamp to a bare metal ground point on the chassis or engine block, at least 18 inches away from the battery. This keeps any spark away from the battery gases.
- Set the charger to the correct battery type and amperage.
- Plug the charger into the outlet and turn it on.
When finished, reverse the order: turn the charger off, unplug it, then remove the black clamp first and the red clamp last.
Set the Charge Rate and Monitor Progress
A standard charge at a moderate rate usually takes several hours for a depleted battery, while a fast mode finishes sooner but runs hotter. Many owners prefer a low setting overnight. A fully charged 12-volt battery typically reads about 12.6 volts at rest, measured with the engine and accessories off for several hours. Check the battery periodically; if it becomes hot to the touch, stop charging and let it cool.
Common Mistakes
- Connecting the black clamp directly to the negative terminal, which can cause sparks near the battery.
- Charging a frozen or visibly damaged battery. Let it thaw and inspect it first.
- Using a charger rated for the wrong battery chemistry, especially AGM batteries.
- Skipping the terminal cleaning step, which leaves a poor connection and inaccurate charging.
- Leaving a non-smart charger connected for days without checking it.
Recommended Gear
- NOCO Genius smart charger: A fully automatic charger that adjusts its output on its own, useful for owners who prefer a hands-off approach. View on Amazon
- Battery terminal cleaning brush kit: Removes corrosion so the clamps make solid contact. View on Amazon
- Digital multimeter: Lets you check resting voltage before and after charging. View on Amazon
For related reading, see Smart Charge Car Battery Charger: A Step-by-Step Guide for Beginners and Jumpstart a Car with a Battery Charger: Step-by-Step Guide (2026).
FAQ
Can I leave a battery charger kit connected overnight?
Only if it is a smart or maintenance charger that switches to float mode when the battery is full. Basic chargers should be watched and disconnected once charging is complete.
How long does it take to charge a dead car battery?
It depends on the battery’s capacity and the charger’s output. A low-amp setting often takes many hours, while higher-amp modes shorten the time but generate more heat.
Is it safe to charge a car battery while it is still in the car?
It is generally acceptable if you connect the negative clamp to a chassis ground away from the battery and work in a ventilated space. Disconnecting the battery first can reduce risk for some owners, but always follow your vehicle’s manual.
Conclusion
A battery charger kit for car use is a practical way to restore a weak battery at home. Match the charger to your battery type, connect the clamps in the correct order, and monitor the charge until the battery reads near 12.6 volts. If you notice swelling, leaking, or a battery that will not hold charge, consult a professional or replace it.
Related reading
- XS Car Battery Charger: 5 Best Picks for Every Need (2026)
- Vintage Car Battery Charger: 7 Best Picks for Every Need
Ready to choose one?
About Lauren Holland
Lauren Holland is part of our editorial team and reviews and edits our car care & garage supplies guides, checking product details against manufacturer specifications and owner feedback.