 By Lauren Holland
Updated November 2026
Car jump starter instructions boil down to one goal: connecting a portable power source to a dead battery in the right order so your engine turns over without sparks, damaged electronics, or a fried battery. This guide walks you through preparation, connection, starting, and disconnection. Once you know the sequence, the whole process takes about five minutes.
Before You Connect Anything
Start by checking the basics. Make sure the jump starter is charged, since most units show a battery indicator or a row of LEDs. Confirm the vehicle is in park or neutral with the parking brake set, and turn off the headlights, radio, and climate control. Look at the dead battery for cracked casing, leaking fluid, or heavy corrosion. If you see any of those, stop and call roadside assistance, because a damaged battery can vent gas or leak acid.
Shopping for one? See our guide: 7 Best Car Battery Jump Starters: Top Picks for Every Need (2026).
If you are new to this equipment, read the Jump Starter Pack for Car: How to Choose and Use One Safely (2026) before your first attempt so you know what your specific unit can handle.
Step-by-Step Connection Sequence
Follow this order exactly. Most jump starters use color-coded clamps, with red for positive and black for negative.
- Attach the red clamp to the positive (+) terminal of the dead battery. The terminal is usually marked with a plus sign and may have a red plastic cover.
- Attach the black clamp to an unpainted metal ground point on the engine block or chassis, several inches away from the battery. Do not clamp to the negative terminal of the dead battery.
- Make sure the clamps have solid metal-to-metal contact and are not touching each other or any moving parts.
- Turn the jump starter on, then check for any indicator showing a correct connection. Some units beep or light up when polarity is wrong.
- Wait about 30 to 60 seconds to let the surface charge settle, then start the engine. If it does not start after two or three attempts of about five seconds each, stop and reassess.
The ground point matters because the final connection can produce a small spark. Keeping it away from the battery reduces the chance of igniting hydrogen gas the battery may release.
Disconnecting Safely After the Engine Starts
Once the engine runs, remove the clamps in reverse order. Take the black clamp off the ground point first, then remove the red clamp from the positive terminal. Keep the clamps from touching each other while you do this. Turn the jump starter off, and let the engine run for at least 15 to 20 minutes so the alternator can recharge the battery. Shorter trips often leave the battery weak, so a drive of 30 minutes or more is better.
Recharging and Testing the Battery
A jump start gets you moving but does not fix a weak battery. Have the battery load-tested at an auto parts store or a qualified shop, especially if it failed in cold weather or is more than three or four years old. If you plan to recharge the battery directly, the guide on Charging a Car Battery with a Jump Starter: Step-by-Step Guide covers that process.
Common Mistakes to Avoid
- Reversing the clamps. Connecting positive to negative can damage the jump starter, the car’s electronics, or both.
- Clamping the black cable to the dead battery’s negative post instead of a ground point.
- Attempting to start the car for long periods. Cranking longer than about 10 seconds can overheat the starter motor.
- Jump starting a battery that is cracked, frozen, or leaking.
- Letting the clamps touch while connected to the power source.
Recommended Gear
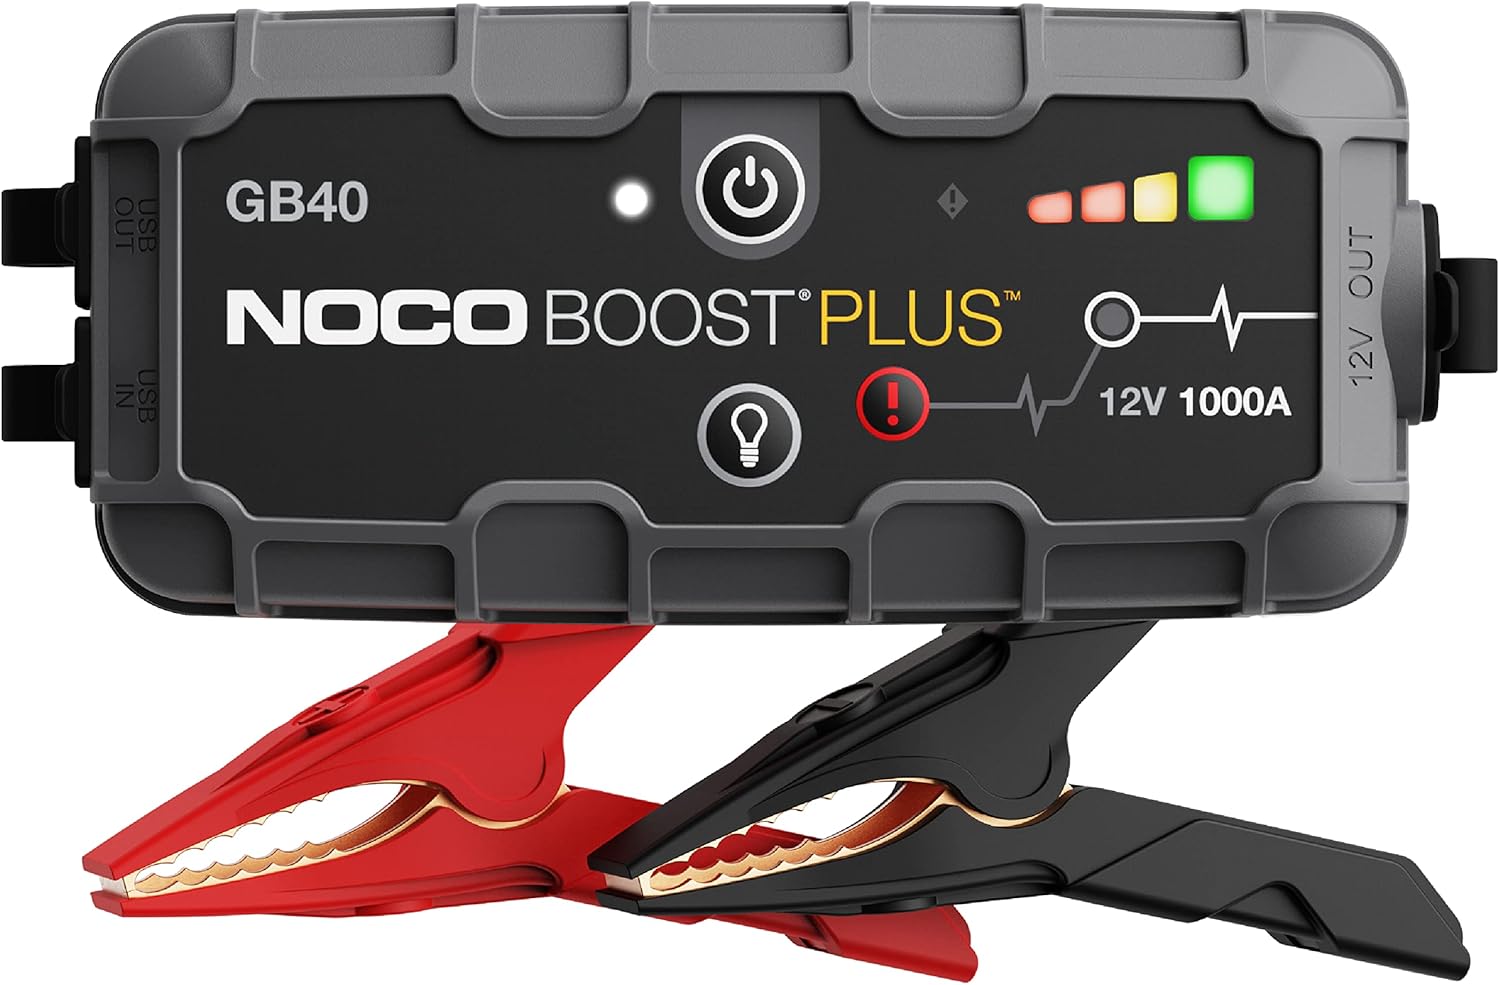
- Lithium jump starter with built-in clamps: Compact units like these keep the cables and power in one package, which makes the connection process simpler. View on Amazon
- Insulated gloves: Protect your hands from battery acid residue and the occasional spark. View on Amazon
- Wire brush for battery terminals: Clean corrosion before clamping so the connection makes solid contact. View on Amazon
FAQ
Can I jump start a car in the rain?
It is safer to wait for dry conditions if possible. Water increases the risk of short circuits, so keep the clamps dry and avoid working in standing water.
How long should I leave the jump starter connected?
Connect it only as long as needed to start the engine. Once the engine runs, disconnect the clamps promptly and let the car run to recharge the battery.
What if the car still won’t start after a jump?
The battery may be too discharged, the starter may be faulty, or the problem may lie in the fuel or ignition system. Check the clamp connections first, then consult a professional mechanic if the car still refuses to start.
Conclusion
Following these car jump starter instructions protects both you and your vehicle. Connect in the correct order, use a solid ground point, and disconnect in reverse once the engine runs. If the battery keeps failing, have it tested, since a jump start only solves the immediate problem.
Related reading
- Vehicle Jump Starters Portable Car Battery Charger: How to Choose and Use One
- Jump Starter Kit for Car: How to Choose and Use One Safely (2026)
- Jump Starter Car Battery Charger: Step-by-Step Guide for Beginners
Ready to choose one?
About Lauren Holland
Lauren Holland is part of our editorial team and reviews and edits our car care & garage supplies guides, checking product details against manufacturer specifications and owner feedback.