 By Lauren Holland
Updated November 2026
A car battery jump starter cable is the link that moves enough current from a donor battery or a portable jump pack into a dead car battery so the engine can turn over. In this guide you will learn what the cable does, how to choose one that matches your vehicle, and how to connect it in the right order so you get the engine running without sparks, reversed polarity or a fried electrical system. Think of it as a short, practical lesson you can apply in your driveway or a parking lot the next time your car refuses to start.
What a Jump Starter Cable Actually Does
A dead battery usually has enough voltage to show a few volts on a meter, but not enough cranking amperage to spin the starter motor. The cable carries a large current from a healthy source to the dead battery for a short period. Once the engine runs, the alternator takes over and recharges the battery.
Shopping for one? See our guide: 7 Best Car Battery Jump Starters: Top Picks for Every Need (2026).
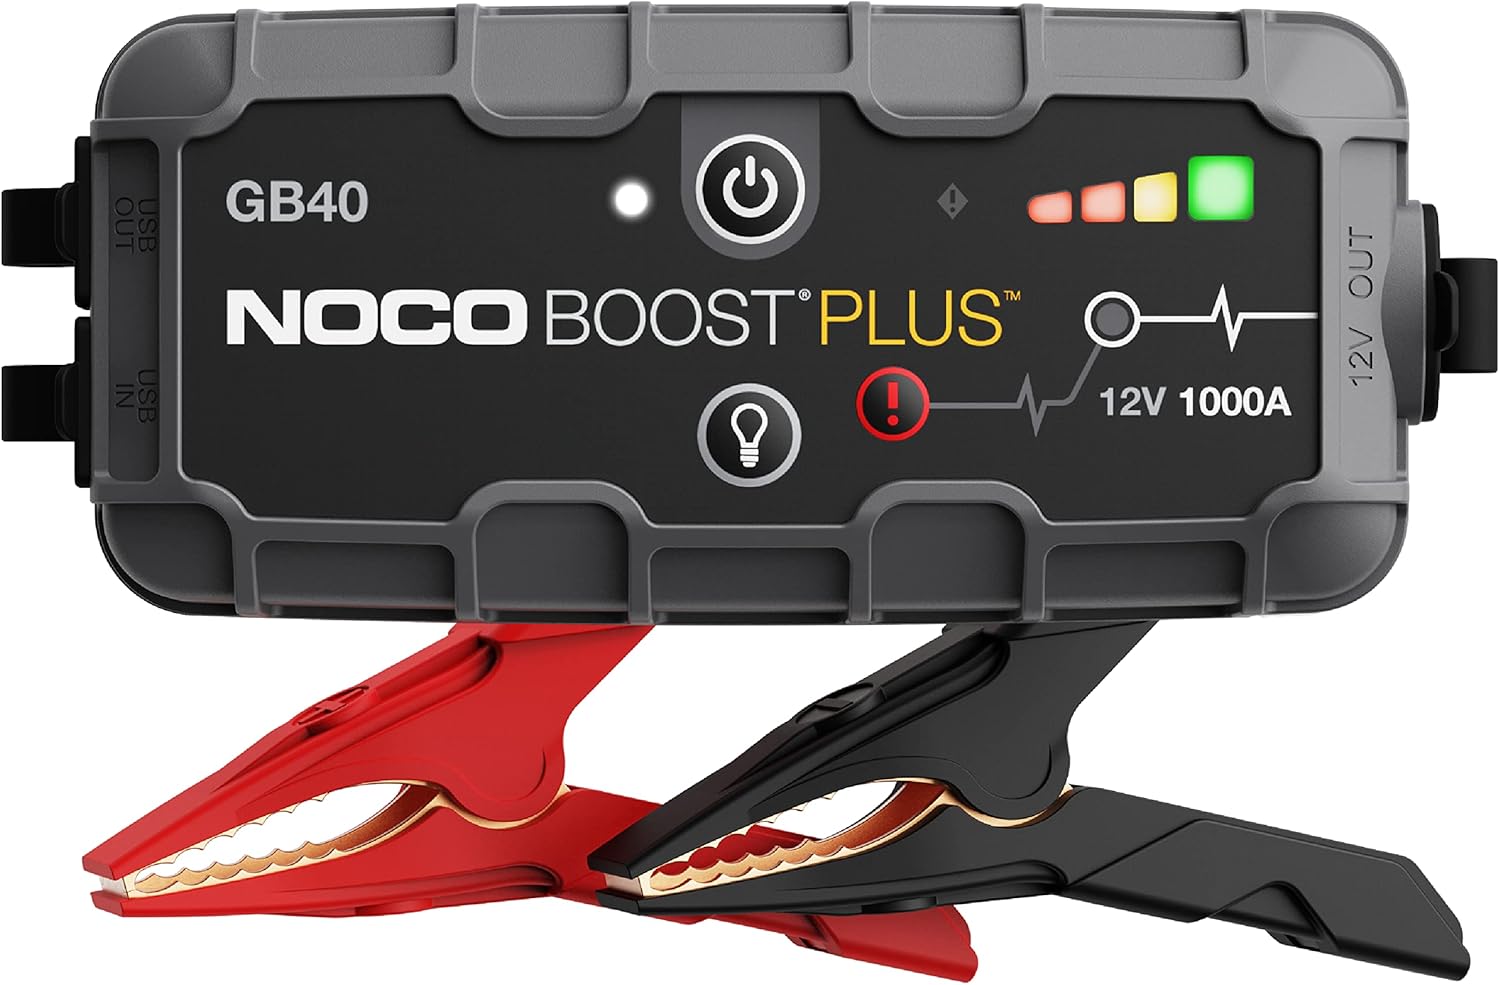
There are two common setups. Traditional jumper cables run from a second vehicle’s battery. A portable jump starter cable connects a lithium or sealed lead-acid pack that you carry in the trunk. The clamp and wire principles are the same, but the pack version lets you start a car without a helper vehicle.
Choosing the Right Cable
Cable quality matters more than most drivers expect. A thin, poorly insulated cable can overheat under load, and a loose clamp can arc. Use these factors to narrow your choice.
Wire Gauge
Wire gauge is expressed in AWG, and lower numbers mean thicker wire. For most passenger cars, 4 AWG is a reasonable minimum. Larger engines, diesel trucks and cold climates call for 2 AWG or 1 AWG. Thicker copper carries more current with less voltage drop, which means more of the source power reaches the starter.
Cable Length
Length affects voltage drop as well. Cables of about 12 to 16 feet let you reach a donor vehicle parked nose to nose without stretching the clamps. Longer cables are useful for truck beds or awkward angles, but a longer run of thin wire loses more power, so match length to gauge.
Clamp Design
Look for fully insulated clamps with strong springs and serrated jaws that bite through corrosion on battery terminals. Color-coded red and black clamps reduce the chance of reversing them. Insulation should cover the clamp body right up to the jaw, not just the wire.
Protection Features
Many portable packs include reverse-polarity protection and spark-proof circuitry. These features are not a substitute for correct connections, but they reduce damage if you make a mistake.
Tools and Preparation Checklist
- A jump starter cable of the correct gauge, or a portable pack with its own cable set
- Safety glasses and nitrile or work gloves
- A wire brush or terminal cleaner for corroded posts
- The owner’s manual, to locate jump posts under the hood, which many modern cars provide
- A flashlight if you are working after dark
- A donor vehicle or a charged portable jump pack with at least 12 volts output
Before you connect anything, put both vehicles in park or neutral with the parking brake set, switch off the ignition and all accessories, and keep the donor engine off during the connection for most portable packs. Some donor vehicles require the engine running; check your manual.
Step-by-Step: Connecting a Jump Starter Cable
Step 1: Inspect Both Batteries
Look for cracked cases, bulging sides, leaking fluid or heavy white-blue corrosion. If you see any of these, stop. A damaged battery can vent hydrogen gas or fail violently when charged. Call for roadside help.
Step 2: Clean the Terminals
Scrub any corrosion off the dead battery’s posts and the donor terminals with a wire brush. Clean contact reduces resistance and prevents the clamp from slipping.
Step 3: Connect the Red Clamp to the Dead Battery’s Positive Post
Attach one red clamp to the positive (+) terminal of the dead battery. Make sure the jaw bites metal and the clamp cannot touch anything else.
Step 4: Connect the Other Red Clamp to the Donor Positive
Attach the second red clamp to the positive (+) terminal of the good battery or the portable pack.
Step 5: Connect the Black Clamp to the Donor Negative
Attach one black clamp to the negative (−) terminal of the good battery or pack.
Step 6: Make the Final Ground Connection
Attach the last black clamp to an unpainted metal bolt or bracket on the engine block of the dead car, away from the battery and fuel lines. Do not clamp it to the dead battery’s negative post. This final connection keeps any spark away from the battery vent area.
Step 7: Start the Engine
If the donor vehicle is running, let it idle for two to three minutes. Then try to start the dead car. Each crank attempt should last no more than about 5 seconds, with a 30-second rest between attempts, so the starter and the donor battery do not overheat.
Step 8: Disconnect in Reverse Order
Once the dead car runs, remove the black clamp from the engine ground first, then the black clamp from the donor, then the red clamps. Keep the cars running and let the dead car idle for at least 10 to 15 minutes, or drive it for about 20 minutes, so the alternator can restore charge.
Reference: Cable Gauge and Use
| Wire Gauge (AWG) | Typical Use | Notes |
|---|---|---|
| 4 AWG | Small to midsize gas cars | Adequate for moderate cranking loads and shorter lengths |
| 2 AWG | Larger gas engines, SUVs, light trucks | Lower voltage drop and better for cold starts |
| 1 AWG or 0 AWG | Diesel engines, heavy-duty trucks | Heavy and stiff, but needed for high cranking current |
Manufacturers usually specify a minimum amp rating for the pack or cable matched to engine displacement. Always follow the rating printed on the product.
Common Mistakes
- Reversing polarity. Connecting positive to negative can damage the electrical system, the donor battery and the alternator. Double-check colors and labels before the final clamp.
- Clamping the final black cable to the dead battery’s negative post. This is the spot most likely to spark. Use a bare engine ground instead.
- Letting clamps touch each other. Once connected to a live source, touching the red and black clamps creates a short circuit.
- Cranking too long. Extended cranking overheats the starter and drains the donor battery. Rest between attempts.
- Ignoring a repeat no-start. If the car will not start after two or three tries, the problem may be a bad starter, a failed alternator or a damaged battery, not just a flat cell.
- Buying only on length. A long, thin cable can perform worse than a short, thick one.
Tips for Longer Battery Life
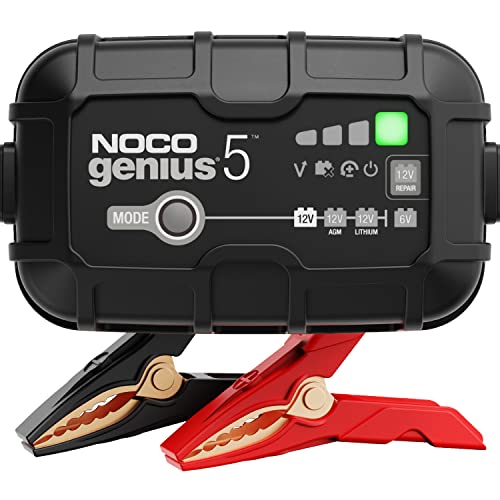
Once the car is running, don’t assume the battery is healthy. Have it load-tested at an auto parts store or with a multimeter that reads cranking voltage. A battery that drops below about 9.6 volts during cranking is often near the end of its life. Keep terminals clean and tight, and avoid short trips that never fully recharge the battery. If the car has sat unused for weeks, a smart battery charger on a trickle setting can prevent a repeat failure.
Recommended gear
- Heavy-gauge jumper cables give you a reliable connection to a donor car. Look for 4 AWG or thicker copper for most passenger vehicles. View on Amazon
- A portable jump starter pack lets you start a car with no second vehicle. Choose one rated for your engine size. View on Amazon
- A wire terminal brush cleans corrosion so the clamps seat firmly. View on Amazon
- Insulated mechanic’s gloves protect your hands from hot clamps and battery acid residue. View on Amazon
For more guidance on matching a pack to your vehicle, read Jump Starter Cables for Car: How to Choose and Use Them Safely (2026) and Jump Starter vs Jumper Cables: Which Should You Carry?. If you want step-by-step instructions for a traditional setup, see How to Jump-Start a Car with Jumper Cables, Step by Step. Drivers weighing a charger instead should compare Car Battery Charger vs Jump Starter (2026): Which Is Better for Dead Batteries?.
FAQ
Can I use a car battery jump starter cable on a motorcycle?
Often yes, but only if the pack or cable is rated for a 12-volt system and the cable gauge suits the smaller battery. Motorcycle batteries are small, so use lower output settings where available and follow the owner’s manual.
What order should I connect the clamps in?
Connect the red clamp to the dead battery’s positive post, then the other red to the donor positive. Next attach a black clamp to the donor negative, and finish on bare metal on the dead car’s engine.
Why is my car clicking but not starting?
Clicking usually means the starter solenoid is receiving power but the motor is not getting enough current. The connection may be loose, the cable too thin, or the battery too weak. Check clamp contact first.
Is it safe to jump-start a car in the rain?
Keep the work area as dry as you can, avoid standing in puddles and keep the connections off wet ground. Water does not make the process dangerous by itself, but wet hands and wet clamps increase the risk of shock and short circuits.
How long should I drive after a jump start?
Plan on about 20 minutes of driving at moderate speeds, or 15 minutes of idling with the headlights and accessories off. A short hop around the block often does not restore enough charge to prevent a second failure.
Can a jump starter damage my car’s computer?
A properly connected jump does not usually harm modern electronics, but voltage spikes from reversed polarity or unstable packs can. Using a pack with protection circuits and checking polarity reduces the risk.
When should I call a professional instead?
Call roadside help or a mechanic if the battery is swollen or leaking, if you smell rotten eggs, if the car fails to start after several attempts, or if the battery keeps dying without a clear cause. Those signs can point to damage that is not safe to handle yourself.
Conclusion
A good car battery jump starter cable, paired with the correct connection sequence, will get most dead batteries running in a few minutes. Choose a gauge that suits your engine, clamp only to clean metal, and let the alternator recharge the battery afterward. If the car still will not start, or the battery fails again soon, have the charging system and the battery tested before you rely on it again.
Related reading
- 6 Best Portable Jump Starters for Car Battery Picks for Every Need (2026)
- 6 Best Car Battery Jump Starter Air Compressor Combos (2026): Buyer's Guide
Ready to choose one?
About Lauren Holland
Lauren Holland is part of our editorial team and reviews and edits our car care & garage supplies guides, checking product details against manufacturer specifications and owner feedback.