Polishing by machine can save hours of labor and deliver a finish that hand application rarely matches. The key is matching the right pad and polisher to the task. This guide covers foam and microfiber applicator pads for wax and sealant, polishing pads organized by cut level, the difference between dual-action and rotary polishers, and the step-by-step method for using a dual-action machine safely and effectively.
Understanding Polishing Pads and Applicators
Polishing pads are the interface between the machine and the paint. Their material, density, and surface texture determine how much cutting action occurs. Applicator pads, on the other hand, are typically used for applying waxes, sealants, and glazes by hand or machine.
Foam Pads by Cut Level
Foam pads are the most common type and are generally grouped into three categories based on how aggressively they abrade the paint surface.
- Cutting pads (heavy-cut). These have a firm, open-cell foam structure that holds compound and provides strong abrasion. They are used to remove moderate to severe swirl marks, oxidation, and light scratches. Cutting pads are usually color-coded (often yellow or burgundy) by manufacturers, but there is no universal standard, so check the pad’s labeling.
- Polishing pads (medium-cut). A medium-density foam that refines the surface after cutting. They remove haze and minor imperfections left by a cutting pad and work well with medium-grade polishes. These pads are commonly orange, white, or green.
- Finishing pads (light-cut or no-cut). Soft, closed-cell foam that applies final polishes, glazes, waxes, and sealants. They impart gloss without additional correction. Finishing pads are often black, red, blue, or gray.
Some manufacturers offer pads with stepped or waffle patterns to improve cooling and reduce heat buildup. Others use hybrid foams that blend properties of two grades. When in doubt, start with a less aggressive pad and move to a more aggressive one only if needed.
Microfiber Applicator Pads
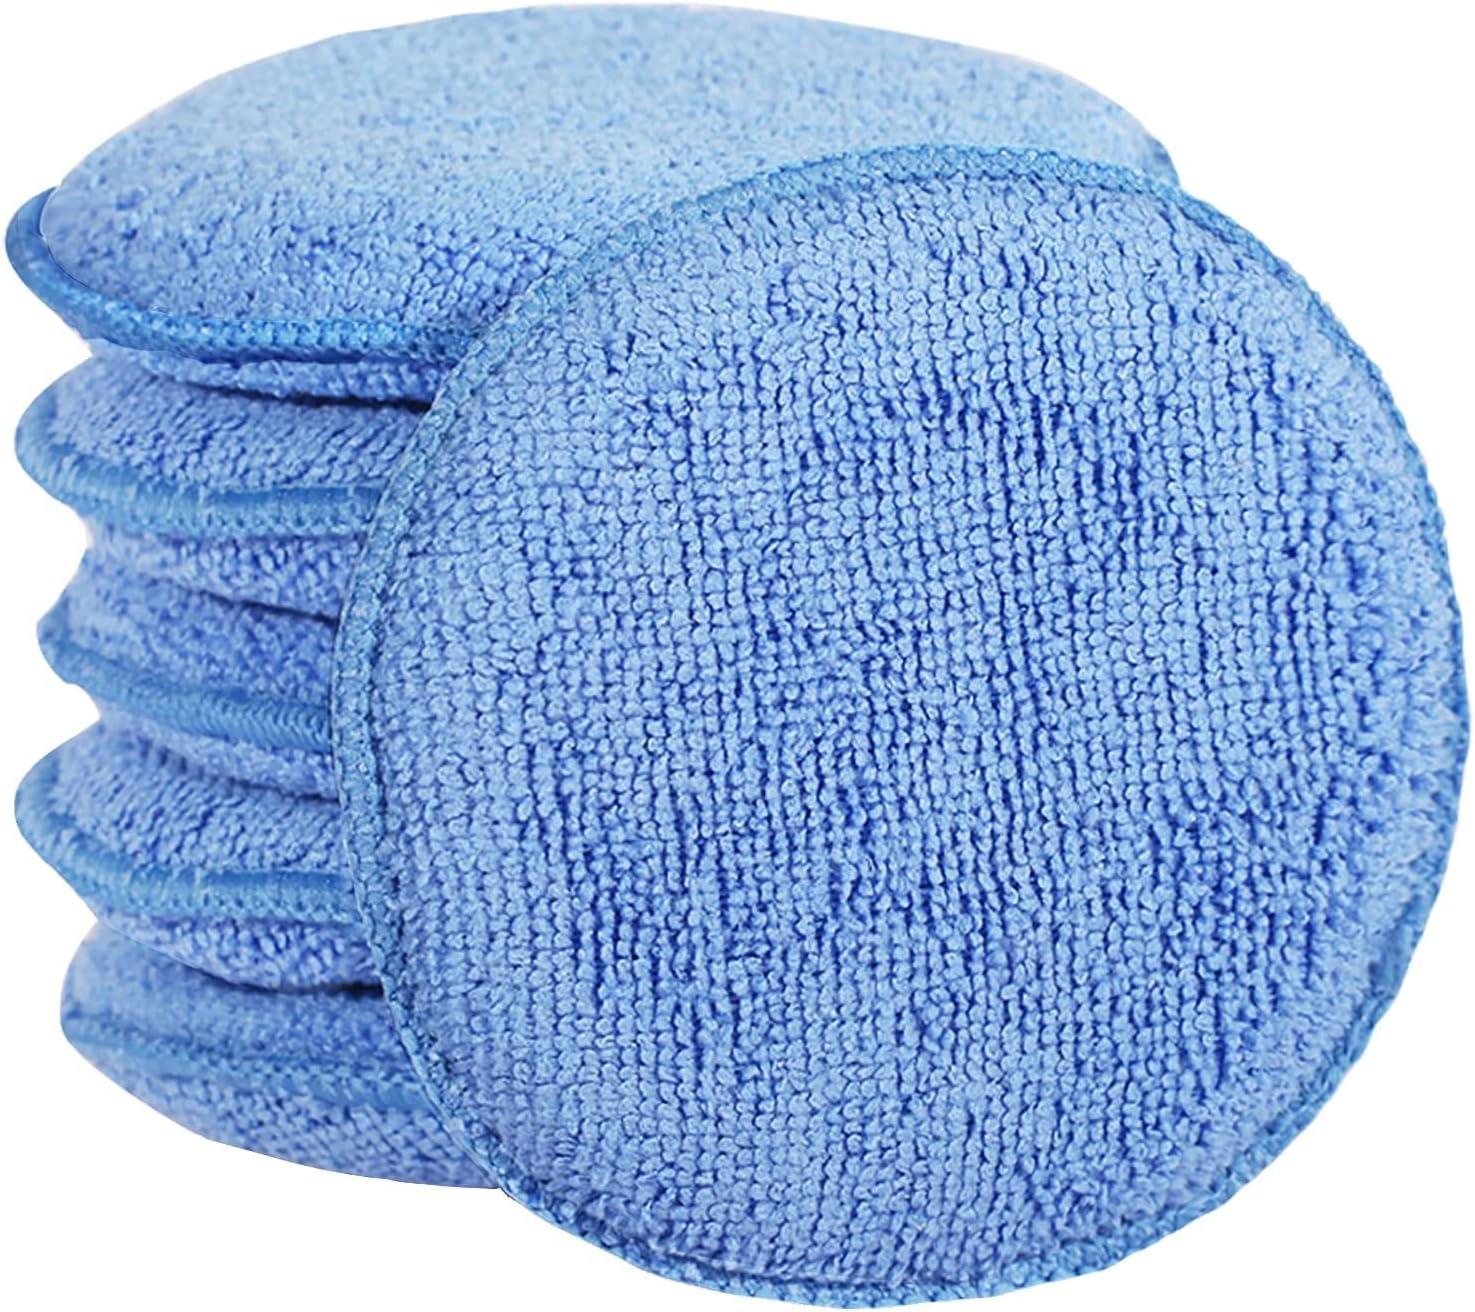
Microfiber applicator pads are a popular alternative to foam for applying wax, sealant, and spray coatings. They consist of a dense microfiber fabric bonded to a foam core or backing. The microfiber surface holds product evenly and releases it smoothly, reducing the risk of streaks. These pads are especially useful for applying ceramic spray coatings and liquid waxes because they do not soak up as much product as open-cell foam.
Microfiber applicators are also available as hand applicators (small pads with a handle or a simple rectangular shape) and as machine pads that attach to a backing plate. For machine use, microfiber pads tend to generate more heat and friction than foam, so they require careful speed control and frequent cleaning.
Backing Plates and Pad Sizes
The backing plate is the rigid disc that connects the pad to the polisher. It must match the pad’s hook-and-loop backing. Common sizes include 5-inch, 6-inch, and 3-inch backing plates. The pad size should be slightly larger than the backing plate to prevent the plate’s edge from contacting the paint.
Typical pad diameters are 5.5 inches for a 5-inch backing plate and 6.5 inches for a 6-inch backing plate. Smaller pads (3 to 4 inches) are used for tight areas, curves, and bumpers. Larger pads cover more area but are harder to control on curved panels. Choose a pad size that matches the panel shapes you work on most often.
Dual-Action Polishers Versus Rotary Polishers
Dual-action (DA) polishers oscillate the pad in a random orbit while also rotating it. This motion reduces the risk of burning the paint or creating holograms, making DA polishers the recommended choice for beginners and experienced detailers alike. The random orbit makes it much harder to overheat one spot, although you can still wear through thin paint on sharp edges and body lines, so keep the machine moving there.
Rotary polishers spin the pad in a single direction at high speed. They remove material faster than a DA and are capable of heavy correction, but they require a steady hand and experience. A rotary can easily burn through paint if the operator stops moving or applies too much pressure. For most drivers maintaining their own vehicle, a dual-action polisher is the safer and more versatile tool.
Some DA polishers offer a forced rotation mode that combines the random orbit with a geared drive, providing more cutting power while retaining the safety of the dual-action motion. These are a middle ground for users who want more correction than a standard DA but are not ready for a rotary.
How to Use a Dual-Action Polisher
Using a DA polisher correctly involves preparation, proper pad priming, technique, and cleanup. Following these steps will help you achieve consistent results without damaging the paint.
Priming the Pad
A dry pad will not spread compound or polish evenly and may skip or bounce on the surface. Priming means saturating the pad with product before you begin. There are two common methods:
- Direct priming. Apply a small line of polish or compound across the face of the pad (about the size of a quarter or a nickel) and spread it by pressing the pad against a clean microfiber towel or by running the machine at low speed on a piece of masking tape or a test panel.
- Spritz priming. Lightly mist the pad with a pad conditioning spray or distilled water before applying product. This helps the pad absorb the polish and prevents it from drying out too quickly.
After the initial prime, you may need only a few dots of product for each subsequent section. Overloading the pad causes sling and wasted product.
Working in Small Sections
Work in areas roughly 2 feet by 2 feet, or smaller on curved panels. Apply the product to the pad, then spread it over the section at low speed (speed 2 or 3 on a typical DA) without applying downward pressure. Once the product is spread, increase the speed to 4 or 5 and begin polishing with light pressure. Let the machine do the work; pressing hard slows the rotation and reduces effectiveness.
Move the polisher in overlapping passes: left to right, then up and down, covering each pass by about 50 percent. After three to four passes, wipe off the residue with a clean microfiber towel. Inspect the section before moving to the next.
Keeping Pads Clean
As you work, the pad loads with spent product, paint residue, and dust. A loaded pad loses cutting ability and can mar the paint. Clean the pad frequently during use. The best method is to use a pad cleaning brush or a pad conditioning tool while the machine is running at low speed. Alternatively, you can stop the machine, remove the pad, and rinse it with warm water or use a pad cleaning spray. Allow the pad to dry before reusing it.
Have multiple pads of the same grade so you can swap to a clean one as needed. Using one pad for an entire vehicle will produce inconsistent results.
Edges and Trim
Polishing near edges, sharp body lines, and plastic trim requires care. The pad can catch on an edge and cause the machine to skip, or the compound can stain unpainted trim. Mask off plastic trim, rubber seals, and emblems with painter’s tape. When approaching an edge, angle the pad slightly so it does not hit the edge directly. Reduce speed and pressure near body lines. For tight areas, switch to a smaller pad (3 or 4 inches) or a hand applicator.
Testing in an Inconspicuous Area
Before you begin polishing a visible panel, test your pad and product combination on a hidden area such as the inside of the trunk lid, behind the door jamb, or under the hood. This test confirms that the pad grade and polish are appropriate for your paint’s hardness and condition. It also lets you check for any adverse reactions such as hazing, marring, or clear coat damage. If the test area looks good after wiping, proceed. If not, switch to a less aggressive pad or polish.
Common Mistakes
Even experienced users can make errors that compromise the finish or damage the paint. Here are the most frequent mistakes and how to avoid them.
- Using too much product. Excess compound or polish slings off the pad, wastes product, and makes cleanup harder. Use a small amount and add more only if needed.
- Applying too much pressure. Pressing the polisher into the paint stalls the pad’s rotation and generates heat. Let the weight of the machine provide the pressure; you only need to guide it.
- Skipping pad cleaning. A dirty pad cannot cut effectively and may grind debris into the paint. Clean or replace pads after every few sections.
- Working on a dirty surface. Polishing embeds dirt and grit into the paint, creating new scratches. Always wash and decontaminate the vehicle before polishing. See how to wash a car at home for a thorough washing method.
- Neglecting to tape trim. Compound residue on rubber or plastic trim is difficult to remove and can leave white stains. Tape off all adjacent trim before polishing.
- Using the wrong pad for the product. A finishing pad with a heavy-cut compound will not cut effectively, and a cutting pad with a final polish may leave swirls. Match the pad grade to the product’s intended use.
Troubleshooting
If your results are not what you expected, check these common issues before changing products or pads.
| Issue | Likely Cause | Solution |
|---|---|---|
| Pad slings product | Too much product on the pad; pad not primed evenly | Reduce product amount; prime the pad properly before starting |
| Haze or micro-marring after polishing | Pad too aggressive for the paint; insufficient lubrication | Switch to a less aggressive pad; use a finer polish; keep the pad moist |
| Machine bounces or skips | Pad dry; pad not centered on backing plate; speed too low | Prime the pad; check pad alignment; increase speed slightly |
| Residue hard to wipe off | Product dried on surface; too much product applied | Work smaller sections; wipe immediately after polishing; use a quality microfiber towel for cars |
| Swirls remain after polishing | Pad or product not aggressive enough; technique too slow | Try a more aggressive pad or compound; increase arm speed and overlap |
| Pad overheats | Excessive pressure; pad not cleaned; speed too high | Reduce pressure; clean pad; lower speed; let pad cool between sections |
If you encounter stubborn residue or compound dusting, check your car detailing brushes guide for tools that help clean pads and tight areas. For general paint care between polishing sessions, refer to car care and detailing resources.
FAQ
Can I use a dual-action polisher with any pad?
Most DA polishers accept pads with a hook-and-loop backing. However, the pad must be rated for the polisher’s speed range and size. Check the manufacturer’s instructions for both the polisher and the pad to ensure compatibility. Using a pad that is too large or too small for the backing plate can cause vibration or poor performance.
How often should I replace polishing pads?
Replace a pad when it shows visible wear such as torn edges, compressed foam, or a glazed surface that no longer holds product evenly. Pads that have been saturated with polish residue and cannot be cleaned effectively should also be replaced. Having a set of fresh pads on hand ensures consistent results.
What is the difference between a polishing pad and a waxing pad?
A polishing pad is designed to abrade the paint surface and remove imperfections. It has a more open or firmer foam structure. A waxing or finishing pad is softer and denser, meant to apply a thin, even layer of wax or sealant without any cutting action. Using a polishing pad to apply wax may introduce fine swirls, while using a finishing pad for correction will not remove defects.
Do I need to use a backing plate with a DA polisher?
Yes. A DA polisher requires a backing plate that attaches to the spindle and provides a mounting surface for the pad. The backing plate must be the correct diameter for the pad and the polisher’s thread size. Most DA polishers come with a backing plate, but you may need to purchase a separate one if you use smaller or larger pads.
Choosing the right polishing pad, applicator, and machine for your paint care routine takes some thought, but the results are worth the effort. A dual-action polisher paired with the correct pad grade and proper technique can remove swirls, restore gloss, and prepare the surface for wax or sealant. Always test your combination in a hidden area, keep your pads clean, and work methodically section by section. For more on polishing accessories and applicators, visit polishing and waxing accessories.