Cleaning car seats well starts with knowing what the upholstery is made of and what the vehicle manufacturer recommends. Fabric, leather and vinyl each need different tools and products, and rushing the job can leave seats damp, streaky or damaged. This guide covers the safe order of work: check the manual, vacuum, test, clean, blot and dry.
What You Need Before You Start
Open the owner’s manual first. It tells you whether the seat material is genuine leather, leatherette, vinyl or fabric, and it notes whether the seat contains heating elements, ventilation openings or occupant sensors. Some vehicle makers approve specific cleaners and forbid others, so follow that guidance before buying anything.
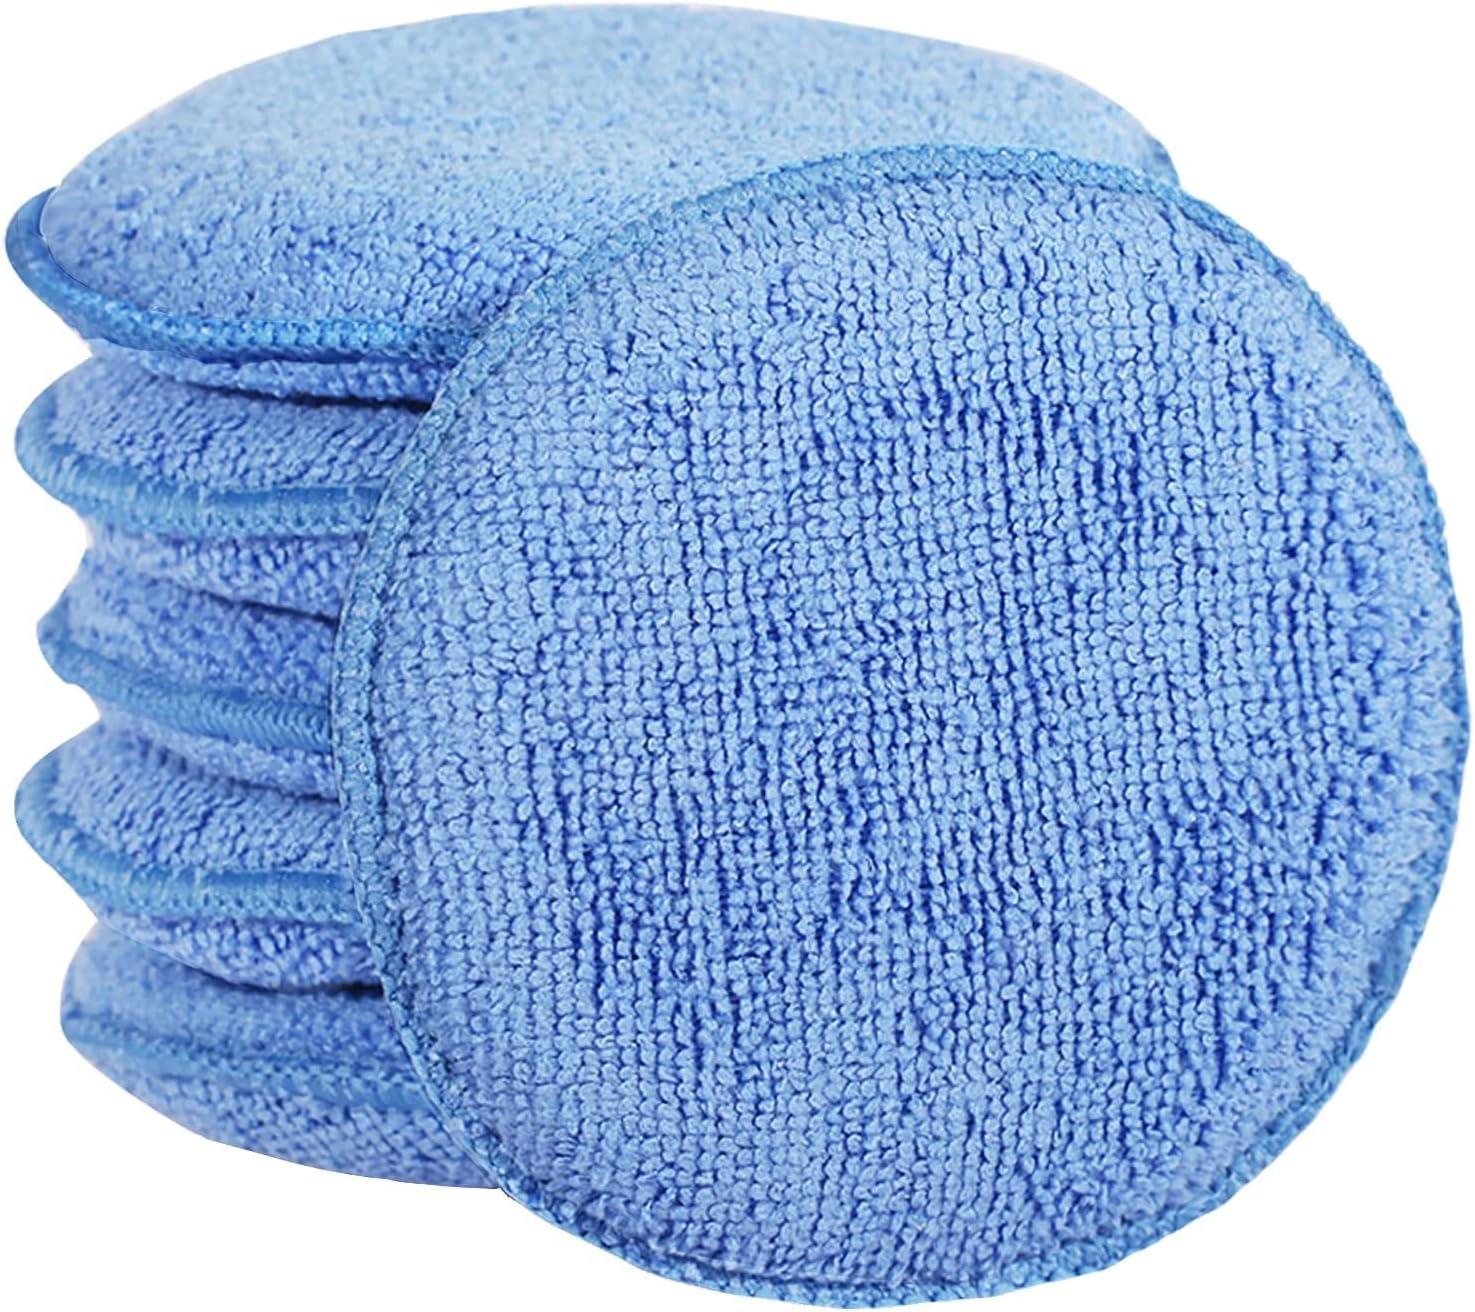
Assemble your interior cleaning tools and the right products. A vacuum with a crevice tool, soft-bristled brushes, microfiber towels, a spray bottle with clean water, and a wet/dry vacuum or extractor cover most jobs. For leather you also need a pH-balanced leather cleaner and a leather conditioner. For fabric, choose an upholstery cleaner labeled for car seats. For vinyl, a mild vinyl or interior cleaner labeled for vinyl works well.
Work in a ventilated area. Open the car doors or windows, especially when using solvent-based sprays. Keep all cleaning products out of reach of children and follow the label directions on every bottle, including how long to let a product sit and how to dispose of used towels.
Material at a Glance
| Material | Use | Avoid |
|---|---|---|
| Fabric | Fabric upholstery cleaner, soft brush, wet/dry vacuum or extractor | Soaking the foam; harsh scrubbing that distorts the weave |
| Leather | pH-balanced leather cleaner, soft brush, damp cloth, leather conditioner | All-purpose cleaners, degreasers, stiff scrub brushes |
| Vinyl | Mild vinyl or interior cleaner labeled for vinyl, soft cloth or brush | Solvents, abrasive pads, high heat when drying |
Step-by-Step Instructions
Step 1: Vacuum Every Surface and Crevice
Vacuuming before any liquid cleaning removes the grit that would otherwise grind into the fabric or leather. Use the crevice tool along the seams, around the seat back, and where the cushion meets the backrest. A soft brush attachment helps lift dust from fabric. This is also the time to check between the seat and center console for crumbs or debris that could re-soil the surface. Choose car interior cleaning tools that let you reach these narrow gaps without damaging the upholstery.
Step 2: Test Any Cleaner on a Hidden Spot
Every product can react differently to dyes, coatings and dirt. Find a hidden area such as under the seat, along a lower edge, or a small patch on the seat back. Apply a little cleaner, wait the time stated on the label, and blot with a white microfiber towel. If the color bleeds, the surface turns sticky, or the towel picks up dye, do not use that product on the visible seat. This test matters most on leather and colored fabric.
Step 3: Clean Fabric Seats
Spray or apply a fabric upholstery cleaner according to the label. Work in sections rather than spraying the whole seat at once. Let the cleaner sit long enough to loosen dirt, then agitate gently with a soft-bristled brush using small circular motions. Blot with a microfiber towel instead of rubbing, and turn the towel often so you are not putting dirt back into the cloth.
Do not soak the fabric. Seat foam holds water for a long time, and a wet seat can develop odors or take a long time to dry. If you use a wet/dry vacuum or an upholstery extractor, pull the moisture out immediately after cleaning and keep the nozzle moving slowly across the surface. Limit the liquid to the upholstery and keep it away from seams where heating elements or seat sensors may sit. Afterward, leave the windows open and let air move over the seat until the fabric feels completely dry to the touch.
Step 4: Clean Leather Seats
Leather needs a pH-balanced leather cleaner, not a general all-purpose product. Apply the cleaner to a soft cloth or brush, work it gently into the surface, and wipe away the loosened dirt with a damp cloth. Avoid strong detergents, degreasers and citrus-based sprays, which can strip the protective finish and make the leather feel dry or sticky.
Rinse the surface by wiping with a cloth wrung out in clean water, then dry with a separate microfiber towel. Once the leather is dry, apply a leather conditioner using the product’s instructions. Conditioning helps keep the surface supple, but do not let conditioner build up in the seams. On ventilated or heated seats, use less liquid in every step and be careful around the perforations.
Step 5: Clean Vinyl Seats
Vinyl is easier than fabric and much more forgiving than leather, but it still deserves a mild approach. Use a cleaner labeled for vinyl or a gentle interior cleaner, apply it to a soft cloth or brush, and wipe the surface clean. Rinse with a damp cloth and dry with a towel so soap does not leave a dull film.
For tough spots on vinyl, let the cleaner sit a little longer before agitating, then blot. Do not use abrasive pads, sharp tools or solvent-heavy products, because they can scratch or soften the surface. If the vinyl gets a light haze after cleaning, wipe it again with a clean, damp cloth and dry it thoroughly.
How to Handle Common Stains
The general rule for all upholstery is to blot, not rub. Rubbing spreads the stain and pushes it deeper into the foam. Work from the outside of the stain toward the center so it does not grow. Always check the owner’s manual and the product label before using a spot remover.
- Coffee, tea and soda: Blot up the liquid, clean with a fabric or vinyl-safe upholstery cleaner, then blot with a damp cloth and dry.
- Grease and oil: Use a cleaner labeled for grease and apply it sparingly. Blot the residue, and let the area dry before you judge the result.
- Ink: Try a spot remover meant for upholstery. Some products allow blotting with isopropyl alcohol on a cloth, but test any solvent in a hidden spot first and keep it away from leather finishes.
- Pet accidents: Blot as much as possible, clean with an enzyme-based cleaner labeled for pet stains, and ventilate the car until the area is fully dry.
- Mud: Let the mud dry completely, brush off the loose dirt, then clean the remaining mark with the appropriate upholstery cleaner.
Common Mistakes to Avoid
- Soaking the seat. Excess water soaks into the foam and can damage electrical parts or leave a lingering odor. Use small amounts of liquid and extract what you can.
- Skipping the hidden-spot test. A cleaner that looks safe can still discolor the upholstery. Test every product before using it on a visible area.
- Using harsh all-purpose cleaners on leather. They can remove the finish, dull the color and leave the surface prone to damage.
- Scrubbing hard with a stiff brush. Aggressive scrubbing can roughen fabric, scratch vinyl and mark leather. Let the cleaner do the work.
- Forgetting the seat’s electrical features. If the seat has heating elements, ventilation or occupant sensors, avoid soaking and keep liquids away from seams and perforations. Check the owner’s manual.
- Drying with too much heat. A hair dryer on high can crack leather and shrink fabric. Use open windows and natural airflow instead.
Troubleshooting
Seats still look streaky after cleaning
Streaking usually means soap residue or dirty water was left behind. Wipe the seat again with a cloth wrung out in clean water, then dry with a clean microfiber towel. On fabric, vacuum the surface once it is dry to lift any remaining residue.
The seat smells musty after cleaning
Moisture is trapped in the foam or under the upholstery. Leave windows or doors open so air can circulate, and avoid sitting in the car until the seat feels dry to the touch. Do not add more cleaner or water until the odor is gone.
Leather feels stiff or looks dull
The surface may have lost its natural oils or the protective coating is stripped. Check the owner’s manual for approved care, then apply a leather conditioner according to its label. If the finish looks damaged, a professional upholstery shop may be the next step.
White residue from a vinyl cleaner
The cleaner dried before you wiped it off. Dampen a soft cloth with clean water, wipe the affected area, then dry with a separate towel. Moving forward, clean and wipe vinyl in smaller sections.
FAQ
Can I use a steam cleaner on car seats?
Steam adds heat and moisture, so it is not a default choice. Some fabric seats may tolerate a handheld steamer used carefully, but leather rarely does. Check the vehicle owner’s manual and the steam cleaner’s instructions, and never direct steam near electrical components, seams or airbag panels.
How often should I clean car seats?
Clean seats when they look dirty, feel dusty or start to smell. Vacuuming regularly prevents grit from working into the fibers, and spot cleaning promptly keeps stains from setting. Beyond that, follow your owner’s manual guidance for upholstery care.
What about seats with heating elements or occupant sensors?
Use less liquid, work in small areas and blot or extract the moisture quickly. Avoid spraying directly into seams, perforations or openings. The owner’s manual should say whether any special precautions apply to cleaning those seats.
What if the seat has a side airbag?
Side airbags can be mounted in the seat back. Check the owner’s manual to see where the airbag panel is, and do not use sharp tools, solvents or heavy scrubbing near that area. Never cover the airbag panel with a seat cover or accessory unless the manufacturer says it is compatible.
Cleaning car seats is mostly about patience and reading labels. Vacuum first, test every product in a hidden spot, use the right cleaner for the material, and let the seats dry with plenty of airflow. By keeping those steps in mind, you can freshen the interior without damaging the upholstery or the electrical features underneath it.