Water spots are one of the most common paint and glass blemishes, and they are also one of the most treatable when you catch them early. They form when water evaporates and leaves behind the minerals it carried, so the fix depends on whether you are dealing with fresh surface deposits or spots that have already etched into the finish. This guide walks you through the causes, the mildest removal methods first, and the stronger steps for stubborn or etched spots, along with ways to keep new spots from forming.
Why Water Spots Form
Tap and well water contain dissolved minerals such as calcium and magnesium. When a droplet dries on a hot panel or in direct sun, the water evaporates and those minerals stay behind as a chalky residue. Hard water simply contains more of these minerals, which is why homes with hard water tend to see spots more often.
There are two distinct types of water spots. Surface deposits sit on top of the clear coat or glass and can usually be wiped away with the right product. Etched spots occur when minerals sit long enough, especially in heat, and the residue bonds to or slightly eats into the surface. Etched spots feel rough and do not disappear with a simple wipe. Knowing which type you have determines which step you should start with.
Symptoms and Likely Causes
Fresh water spots look like white, chalky dots or irregular rings on dark paint and on glass. On lighter paint they can be harder to see until you run a hand across the panel and feel a rough texture. If the surface feels smooth but you still see marks, the spots are probably still surface-level. If your fingernail catches slightly when dragged across the spot, the finish may already be etched.
Common causes include letting a hose or sprinkler dry on the car, washing in direct sun, driving through rain and leaving the car wet, and using hard tap water for the final rinse. Even a car wash that does not dry the vehicle thoroughly can leave spots. The good news is that the same habits that prevent spots also make removal easier when they do appear.
Prevention: Stop New Spots Before They Start
The simplest way to deal with water spots is to keep water from drying on the paint. Wash the car in the shade and on cool panels whenever possible, because heat makes water evaporate faster and leaves minerals behind more quickly. If the panels are warm, rinse the car down first or wait until it cools.
Dry the car promptly after washing. A large microfiber drying towel or a dedicated drying aid lifts water off the surface instead of letting it bead and evaporate. If you regularly fight spots, a filtered or deionized rinse system removes the minerals before the water ever touches the paint, which is why many car washes offer a spot-free final rinse. You can also use a quick detailer as a drying aid to add a little lubrication while you dry. For a full rundown of the best approach, see how to dry a car without water spots or swirl marks, and compare car drying tools to find what fits your routine.
A layer of wax or sealant does not stop spots from forming, but it makes surface deposits easier to remove and gives you a buffer before minerals can bond. Reapplying protection as part of regular car care and detailing keeps the paint in better shape overall.
How to Remove Water Spots Step by Step
Always start with the mildest method and move up only if the spots remain. Work on a cool panel out of direct sun, and follow the label directions on every product you use. Wear gloves when working with acidic or abrasive products, and test any new product on a small, inconspicuous area before treating the whole panel.
| Spot type | Best first method | If that does not work |
|---|---|---|
| Fresh, light spots | Quick detailer and a clean microfiber towel | Dedicated water spot remover |
| Stubborn surface deposits | Water spot remover or diluted vinegar | Clay bar |
| Rough, embedded deposits | Clay bar with lubricant | Polish for paint, glass polish for glass |
| Etched spots | Fine polish by hand or machine | Professional detailing or glass replacement |
Step 1: Quick Detailer for Light Spots
If the spots are fresh and the surface still feels smooth, spray a quick detailer onto the affected area and wipe gently with a clean, plush microfiber towel. The lubricant in the detailer helps lift the minerals without scratching the paint. Turn the towel frequently so you are always wiping with a clean section, and flip to a dry side for a final buff. This step also works on glass for very light spots.
Step 2: Dedicated Water Spot Remover or Diluted Vinegar
For spots that a quick detailer will not budge, use a product made specifically for water spots. These removers are formulated to dissolve mineral deposits without harming the clear coat. Spray or apply the product to a small area, let it work for the time stated on the label, and wipe with a microfiber towel. Rinse the panel with clean water afterward so no residue is left behind. On glass, a dedicated glass cleaner with mineral-dissolving ingredients can handle light spots and is worth trying before you move to anything more aggressive.
A diluted white vinegar solution is a common home remedy that works on both paint and glass because the mild acid dissolves mineral deposits. A common rule of thumb is one part white vinegar to three parts water in a spray bottle. Mist the solution onto a small test area, let it sit briefly, and wipe with a microfiber towel. Rinse thoroughly with plain water afterward. Vinegar is acidic, so do not let it dry on the paint, avoid getting it on unprotected trim, and always test on a small area first. If you see any dulling or discoloration, stop and switch to a dedicated water spot remover.
Step 3: Clay Bar for Embedded Surface Deposits
If the spots still feel rough after the chemical step, a clay bar can pull embedded minerals out of the paint. Spray a clay lubricant or quick detailer onto the surface, then glide the flattened clay bar over the area with light pressure. The clay picks up contaminants that washing cannot remove. Fold the clay frequently so you are always working with a clean face, and stop if the clay ever feels gritty or drops on the ground. After claying, wipe the panel clean and apply a fresh layer of wax or sealant because claying removes existing protection.
Step 4: Polish for Etched Spots
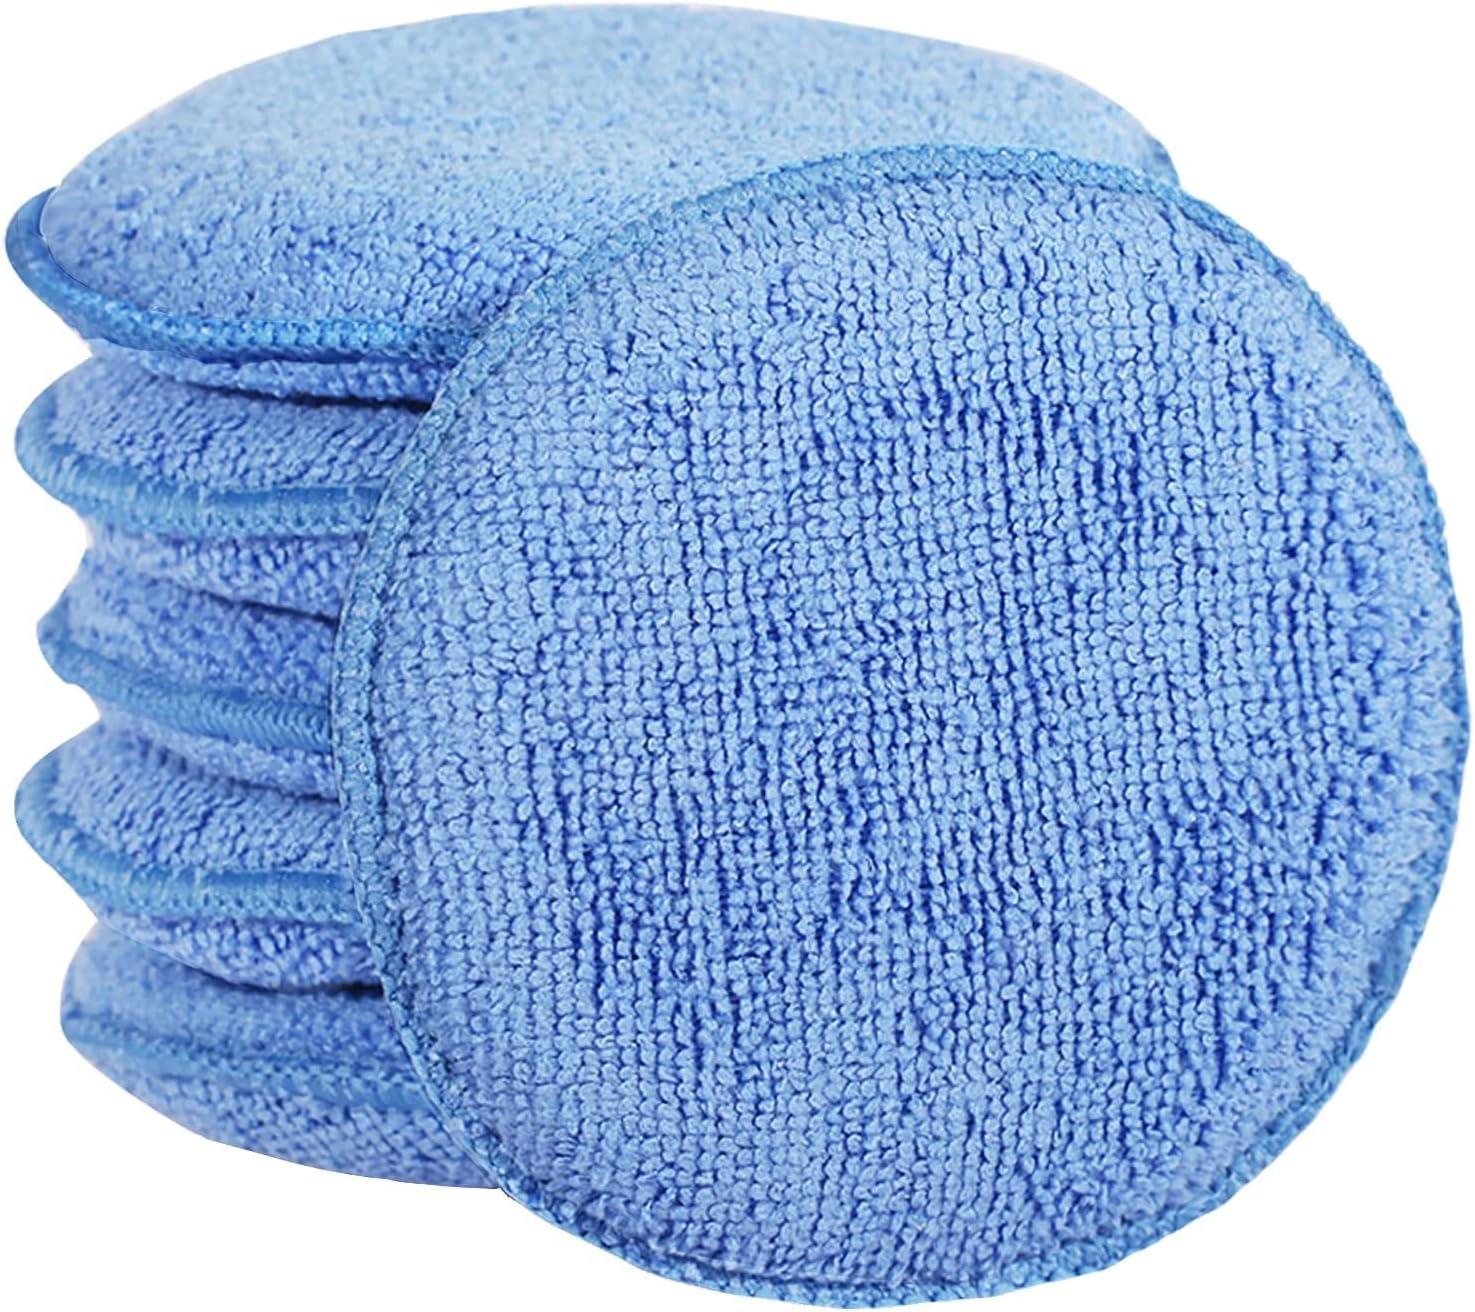
Etched spots that remain after claying have likely penetrated the clear coat or the glass, and they need a polish to level the surface. On paint, use a fine or medium polish with a foam applicator pad by hand, or a machine polisher set to a low speed if you are comfortable using one. Work in small sections, follow the product instructions, and check your progress frequently. The goal is to remove only enough material to smooth the spot, not to cut through the clear coat. On glass, use a glass-specific polish rather than a paint polish, because glass is much harder and needs its own abrasive. Apply it with a dedicated pad and keep the surface damp while working.
For glass, a dedicated glass cleaner with mild abrasives can handle very light etching, but deeper marks usually need a glass polish and more effort. If the etching is on the windshield and wipers are streaking, or if the marks are deep enough to catch a fingernail, a professional may need to machine-polish the glass or, in severe cases, recommend replacement. Always check the vehicle owner’s manual and the product manufacturer’s instructions before using any polish on factory glass or coated surfaces.
When to Call a Professional or the Manufacturer
Most water spots respond to the steps above, but some situations call for a detailer. If you have already tried a polish and the spots are still visible, the etching may be deeper than a hand polish can safely address. A professional detailer has machine polishers, specialized pads, and experience to remove deeper etching without burning through the clear coat. On glass, deep etching that distorts visibility or causes wiper chatter is a safety issue, and a professional can tell you whether polishing is viable or whether the glass should be replaced.
If your vehicle is new or under warranty, check the owner’s manual and warranty documents before doing aggressive polishing. Some manufacturers have specific care requirements, and removing too much clear coat can affect coverage. When in doubt, contact the manufacturer or a certified dealer for guidance rather than risking damage.
FAQ
Do water spots damage car paint?
Fresh surface deposits do not damage the paint, but they can if left for long periods. Minerals that sit in the sun and heat can eventually etch into the clear coat, leaving rough marks that require polishing. The sooner you remove them, the less risk of permanent damage.
Can vinegar remove water spots from car paint?
Diluted white vinegar can dissolve fresh mineral deposits on paint and glass, and it is a common home remedy. Use roughly one part vinegar to three parts water, test it on a small area, do not let it dry on the surface, and rinse thoroughly afterward. For older or etched spots, a dedicated water spot remover or polish is a better choice.
How can I tell if a water spot is etched?
Wash the area, then drag your fingernail gently across the spot. If the nail catches or you feel a rough edge, the spot has likely etched into the clear coat or glass. If the surface feels smooth, the spot is probably still a surface deposit and should come off with a quick detailer, water spot remover, or clay bar.
Can I use a clay bar on glass?
Yes, a clay bar can safely remove embedded mineral deposits from automotive glass as long as the glass is lubricated with a clay lubricant or quick detailer. Use light pressure and keep the surface wet. After claying, clean the glass with a glass-specific cleaner. For etched glass, you will need a glass polish instead.
Water spots are frustrating, but they are rarely permanent if you act before they etch. Start with the mildest method, work on cool panels, and follow the product labels, and you can usually restore a clean finish without a trip to the shop. Add the prevention habits above, and future washes will stay spot-free.