Plastic headlight lenses turn cloudy because the factory-applied UV-protective coating breaks down from sunlight exposure. Once that coating erodes, the underlying polycarbonate lens begins to yellow and haze, reducing light output and making your vehicle look older. The proper restoration process involves wet sanding to remove the degraded layer, polishing to bring back clarity, and then sealing the lenses with a UV-resistant clear coat or sealant to prevent the haze from returning. Quick fixes like toothpaste or vinegar solutions only clean surface contaminants and cannot restore the lens if the outer layer is damaged. This article walks you through the correct method, including safety precautions, so your headlights look clear and perform safely.
What You Need
Gather the following supplies before you begin. Having everything ready makes the job smoother and reduces the risk of skipping important steps.
- Painter’s tape and plastic sheeting or newspaper for masking off the paint around the headlights.
- Sandpaper in grits 400, 600, 800, 1000, 1500, 2000, and 3000. You can buy a wet-sanding assortment at any auto parts store.
- A spray bottle filled with water and a drop of dish soap to keep the sandpaper lubricated.
- A soft sanding block or a foam backing pad to keep the paper flat.
- A buffing or polishing compound suitable for automotive clear coat. Look for a medium-cut compound followed by a fine polish.
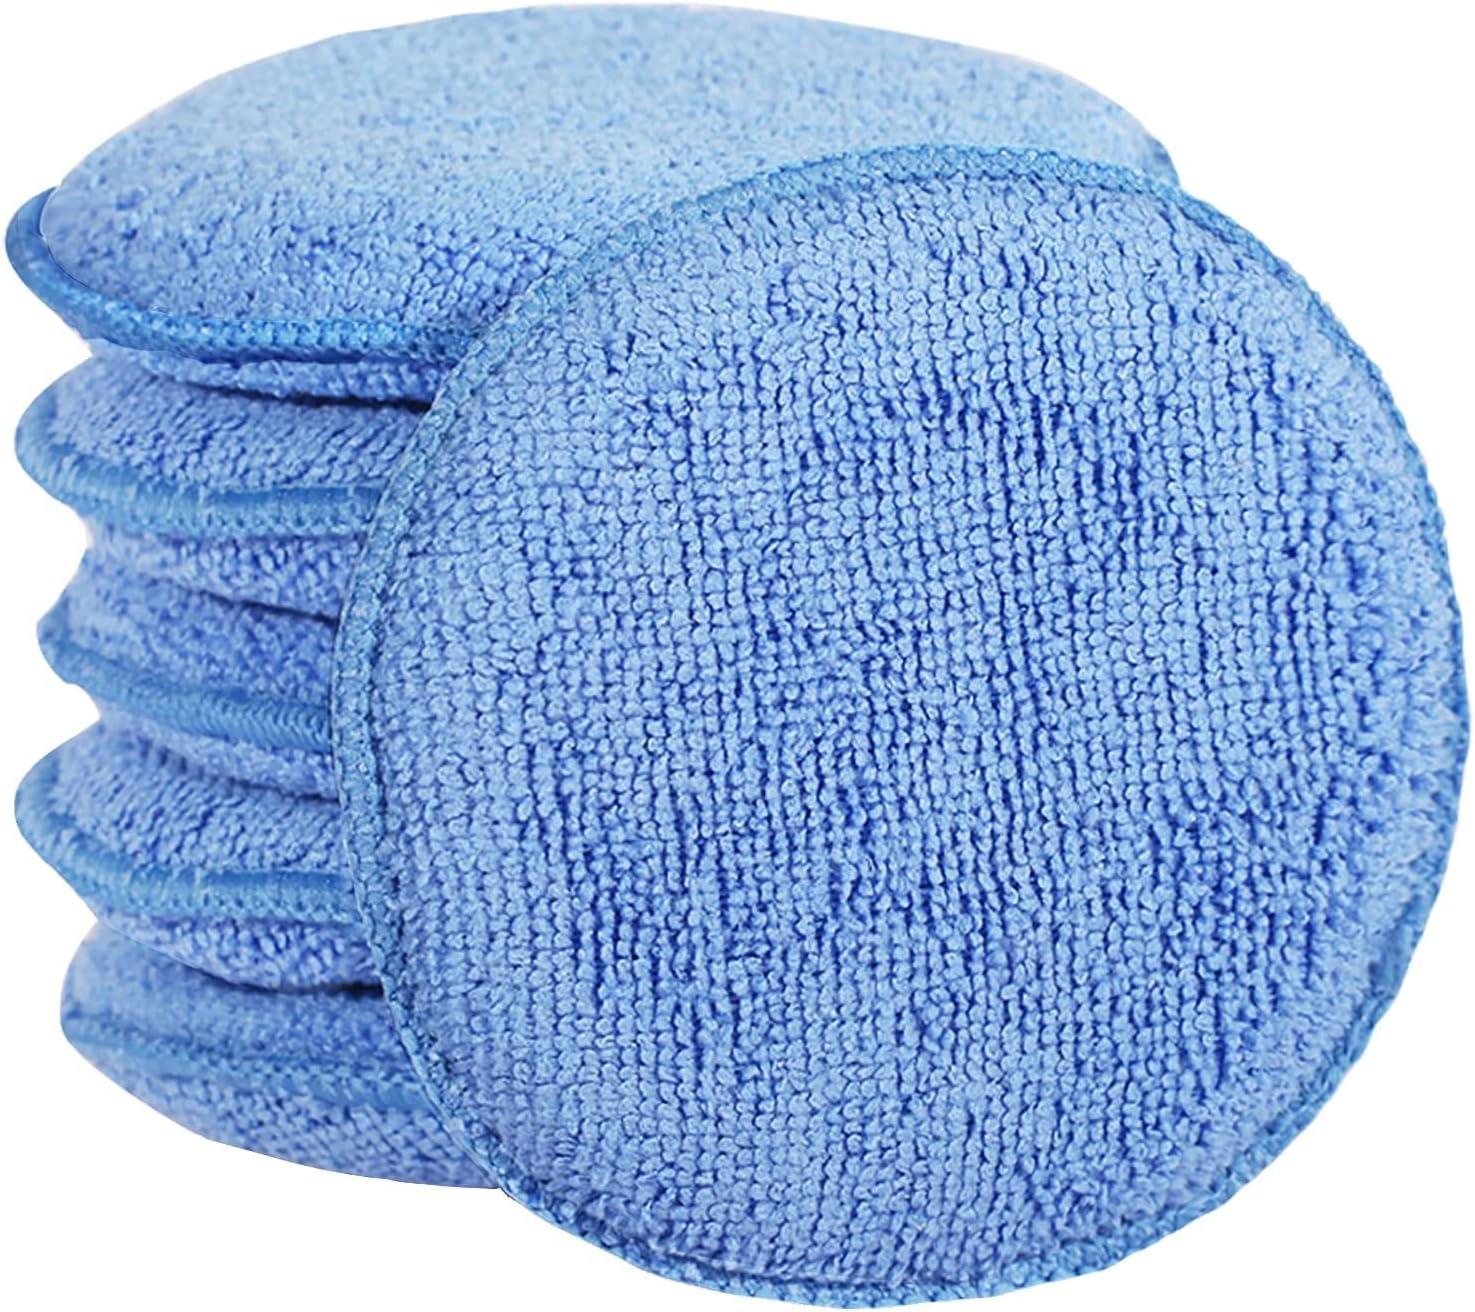
- A microfiber polishing cloth or a dual-action polisher if you have one. Hand polishing works, but a machine speeds things up.
- UV-resistant clear coat spray or a dedicated headlight sealant. This is the most important item for long-term results.
- Isopropyl alcohol (70% or higher) and a clean rag for final cleaning before sealing.
- Safety glasses and disposable gloves. Sanding and polishing create fine dust.
- A well-ventilated area for spray applications. Ideally work outdoors or in a garage with the door open.
For polishing, you may also want to refer to a guide on polishing and waxing accessories to understand which pads and compounds work best for headlight work.
Step-by-Step Instructions
Step 1: Check for Replacement
Before you sand anything, inspect the headlight assembly. If you see cracks, deep scratches that catch your fingernail, or moisture trapped inside the lens, restoration will not fix those issues. Moisture inside usually means the seal has failed, and the only permanent fix is replacing the entire housing. Also check the aim of the headlight after restoration; if you cannot adjust it properly, the beam may blind oncoming drivers. Some states require headlights to meet specific output standards for vehicle inspection. If your headlights are beyond repair, replacement is the safer and more reliable route.
Step 2: Clean the Surface
Wash the headlight lenses with car soap and water to remove dirt and grime. Dry them with a clean microfiber towel. This step ensures you do not sand debris into the plastic, which would cause scratches.
Step 3: Mask Off Surrounding Paint
Use painter’s tape to protect the paint around each headlight. Run tape along the edge of the lens, then cover the fenders and hood with plastic sheeting or newspaper. The tape must be pressed down firmly to prevent sanding water from seeping behind it and damaging the clear coat. Take extra care around the edges because paint from factory-baked finishes can chip easily if sandpaper catches it.
Step 4: Wet Sand with Progressively Finer Grits
Start with the coarsest grit needed. If the headlight is heavily hazed, begin with 400-grit. For moderate haze, start at 600- or 800-grit. Spray the lens and the sandpaper with the soap-water mix. Sand in a back-and-forth motion, keeping the surface wet at all times. Work the entire lens evenly. The goal is to remove the yellowed layer and make the surface uniform. You will see a slurry of white or yellow residue. Wipe it off with a wet rag to check progress.
Once the lens looks uniformly dull with no deep scratches, move to the next finer grit. Clean the lens and the sandpaper between grit changes to avoid carrying coarse particles forward. Continue until you reach 3000-grit. The lens should now appear smooth and frosty but not scratched.
A common rule of thumb for wet sanding is to spend roughly the same amount of time on each grit, but the actual time depends on the severity of the haze. You do not want to over-sand thin areas near the edges where the plastic may be weaker.
| Grit | Purpose |
|---|---|
| 400-600 | Remove heavy oxidation and deep haze |
| 800-1000 | Refine scratches from previous grit |
| 1500-2000 | Smooth surface further |
| 3000 | Prepare for polishing; lens should be uniformly frosted |
Step 5: Polish the Lens
Apply a medium-cut polishing compound to the lens. If using a dual-action polisher, use a medium foam pad and work at low speed. If polishing by hand, use a microfiber cloth and apply firm pressure in circular motions. Work the compound until the frost disappears and the lens becomes clear. Wipe off the residue.
Switch to a fine polish (or a dedicated headlight polish) to remove any haze left by the medium compound. The lens should look transparent and shiny after this step. Check for missed areas by looking at the lens from an angle. Repeat any sanding or polishing if needed, but be careful not to remove too much plastic.
For more on polishing techniques and tools, see the car care and detailing section.
Step 6: Clean the Surface with Isopropyl Alcohol
Wipe the lens with isopropyl alcohol on a clean rag. This removes oils and residue from the polishing step. The surface must be perfectly clean and dry before applying the sealant. Do not touch the lens with bare fingers afterward; oils from your skin can affect adhesion.
Step 7: Apply UV-Resistant Sealant or Clear Coat
This step is critical. Without a UV protectant, the lens will re-haze within months, often faster than the original failure. Use a quality UV-resistant clear coat spray designed for plastic headlights, or a wipe-on headlight sealant that contains UV blockers.
Work in a well-ventilated area, wearing a respirator or mask if the label recommends one. Apply light, even coats, holding the can the recommended distance. Overspray can reach the painted surfaces, so keep the masking in place. Let each coat flash as directed (usually a few minutes) before applying the next. Follow the manufacturer’s instructions for cure time before exposing the headlights to water or sunlight.
Some headlight restoration kits include a separate UV sealant wipe. These work well if you apply them according to the kit’s instructions. Do not skip this final layer; it is what makes the restoration last.
Step 8: Remove Masking and Test
Carefully peel off the painter’s tape and plastic sheeting. Check that no overspray or polish residue remains on the paint. Wipe any residue off with car soap and water.
Test the headlights at night or against a garage door to see if the beam is even and bright. If the light is dimmer than before, you may have removed too much plastic or left a haze. In that case, polish again and re-apply sealant. Also check the aim; if you disturbed the adjustment during the process, align the headlights according to your vehicle’s service manual. Many states require headlights to pass an inspection that includes light output and aim. If you are unsure, have a professional align them.
Common Mistakes
Skipping the Sanding Step
Some people apply polishing compound directly to a hazy headlight, hoping it will clear up. Polishing alone can remove very light surface oxidation but cannot cut through the degraded coating or deep haze. You must sand first to remove the damaged layer.
Using Too Coarse a Grit
If you start with a grit coarser than needed (for example, 220 grit), you will remove too much plastic and create deep scratches that are hard to remove. This can also cause optical distortion. Always begin with the finest grit that will effectively remove the haze.
Not Keeping the Surface Wet
Dry sanding clogs the paper and builds heat, which leaves deeper, uneven scratches that are hard to polish out. Keep both the lens and sandpaper wet throughout.
Neglecting the Edges
The edges and corners of the headlight often haze first. If you only sand the center, the finished lens will look uneven. Work all areas evenly, taking care not to over-sand the edges, which are thinner.
Forgetting the UV Sealant
This is the most common reason for quick rehaze. Without UV protection, the bare polycarbonate will yellow again in a few months. The sealant step is not optional.
Troubleshooting
Haze Returns After Few Weeks
You likely skipped the UV sealant or used a product that does not contain UV blockers. Another possibility is that the headlight already had moisture inside (a failed seal). Wash and dry the lens, then re-apply a proper UV sealant. If haze reappears within days, consider replacement.
Lens Still Looks Swirly After Polish
Return to the sanding stage. You may have left fine scratches from a low grit or skipped a grit in the sequence. Re-sand with the next-finer grit, then polish again. Always clean the lens between stages.
Masking Tape Leaves Residue
If you leave the tape on for longer than intended (especially in heat), the adhesive can become difficult to remove. Use an adhesive remover or isopropyl alcohol on a rag to gently wipe it off. Test in an inconspicuous area first to ensure you do not damage the paint.
Overspray on Paint
If you accidentally spray clear coat onto the painted surface, remove it immediately with a cleaner recommended for overspray. If it dries, you may need to clay bar the area or machine polish it off. Always mask thoroughly, especially around the edges.
FAQ
Can I restore headlights without sanding?
If the haze is only superficial dirt or film, a good cleaning with car soap and a dedicated headlight cleaner may help. However, most hazed lenses require sanding to remove the degraded coating.
How long does a restoration last?
With proper UV-resistant sealant, the results can last a year or more. Without it, rehaze happens quickly. Driving conditions, sun exposure, and climate affect lifespan. Re-apply the sealant periodically as part of routine car care.
Is it safe to use a power drill with a headlight restoration kit?
Yes, provided you use a low speed and the correct backing pads. Many kits include a drill-attachment pad. The key is to keep the pad moving and not apply too much pressure in one spot, which can burn the plastic. If you are new to using a drill for polishing, test on a less critical area first. Always follow the kit’s instructions.
What should I do if moisture appears inside the headlight after restoration?
Moisture inside indicates a failed seal. Restoration will not fix that. You need to replace the headlight assembly. Replacement is the reliable solution.
Closing Remarks
Restoring cloudy headlights is a satisfying DIY car care task that significantly improves nighttime visibility and the appearance of your vehicle. The key steps are wet sanding, polishing, and—most importantly—applying a UV-resistant sealant. Always wear safety glasses and gloves, work in a well-ventilated area when spraying, and check that your headlights meet local regulations after the job. If the lenses are cracked or contain moisture, replacement is the only safe option. With careful technique and the right materials, you can bring old headlights back to life and keep them clear longer.
For more tips on keeping your car’s finish clean, see our guide on how to dry a car without water spots. If you plan to clean the entire car without a hose, the article on how to wash a car without a hose is also helpful.