Vacuuming a car interior like a professional detailer is not about having an expensive machine—it’s about working in the right order and using the correct technique. Detailers follow a top-down, systematic approach that removes loose dirt first, then loosens embedded debris, and finally extracts everything from carpets, seats, and vents. This guide walks you through each step so you can achieve a deep clean without missing hidden pockets of grime.
What You Need
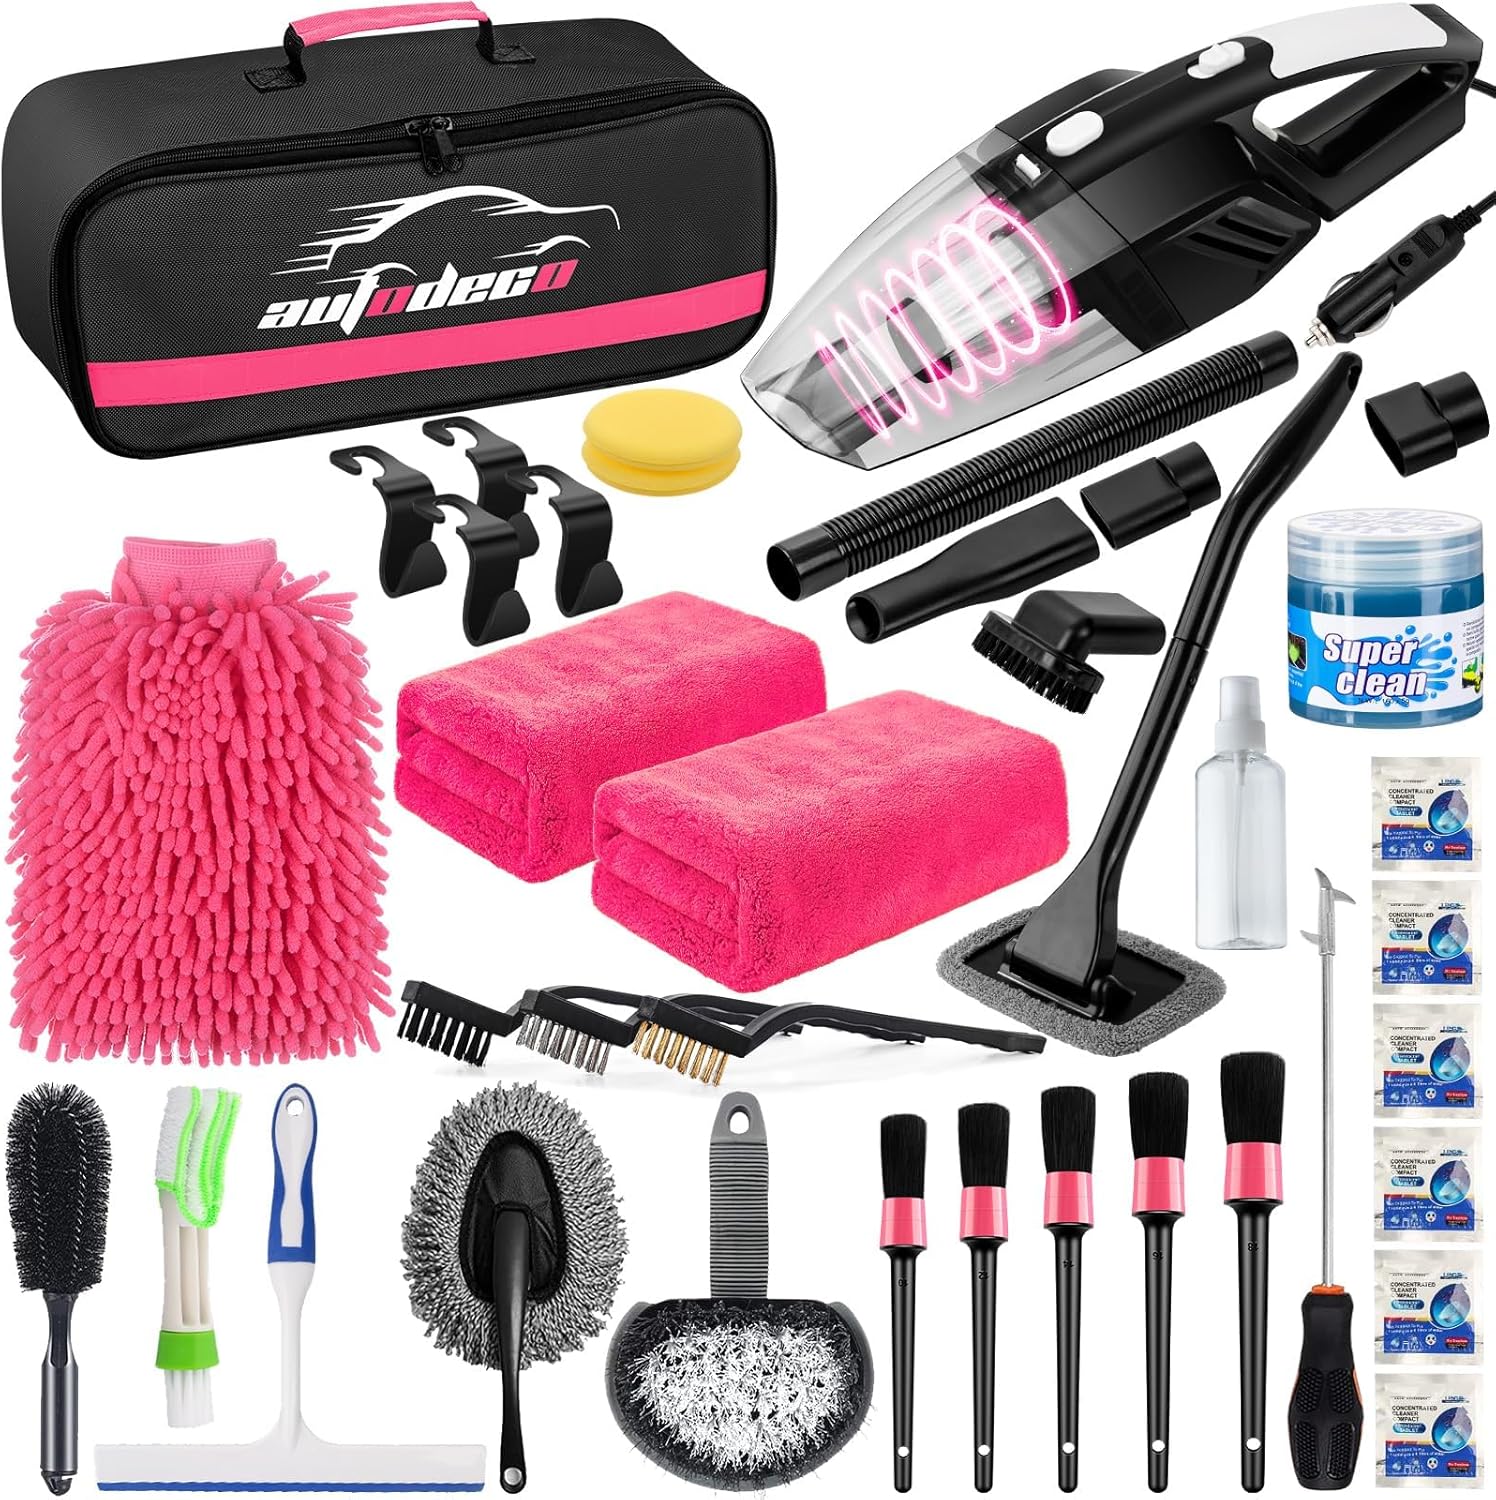
Before you start, gather the tools that make the job efficient. You do not need a specialized shop vacuum, but a car vacuum with good suction and a few attachments will save time. Here is a list of essentials:
- Vacuum cleaner – A wet/dry vacuum or a dedicated automotive vacuum with at least two power settings. Cordless models are convenient but require you to plan for battery runtime.
- Crevice tool – A long, narrow nozzle for reaching between seats, along door panels, and into seat tracks.
- Upholstery brush – A soft-bristle brush attachment for fabric seats and carpets. Avoid stiff brushes that can damage delicate materials.
- Detail brush – A small, stiff-bristled brush (like a boar’s hair or nylon brush) for agitating dirt from carpet fibers and vents.
- Compressed air or a blower – Optional but helpful for blowing dust out of vents and tight crevices before vacuuming.
- Microfiber towels – For wiping down surfaces after vacuuming. Learn proper care with this guide on how to wash microfiber towels without ruining them.
- Rubber gloves – Optional, but they help you feel dirt while brushing and protect your hands.
If you are using a cordless vacuum, check the battery level and have a spare battery charged if available. A common rule of thumb is that a full charge on a typical cordless automotive vacuum gives enough runtime to clean a small sedan’s interior if you work quickly; for larger vehicles or deep cleaning, a corded model may be more practical.
Step-by-Step Instructions
1. Remove All Floor Mats and Loose Items
Start by taking out every floor mat, including trunk mats if you plan to clean the trunk. Shake them outside to dislodge loose dirt and gravel. Set them aside for later vacuuming and spot cleaning. Remove all trash, personal items, and anything that can block access to seats and carpets. This includes loose change, pens, and small debris from cup holders and door pockets.
2. Work Top to Bottom
Professional detailers always vacuum from the highest point down. Gravity pulls dust and loose particles downward, so starting at the ceiling or headliner prevents you from re-dirtying already cleaned areas. Use the upholstery brush attachment on the headliner, sun visors, and overhead console. Be gentle—headliners are delicate and can sag if brushed too aggressively. Then move to the dashboard, steering wheel column, and door panels. Use the crevice tool around vents, gauge clusters, and the edges of the center console.
3. Loosen Embedded Dirt and Pet Hair
Before vacuuming seats and carpets, you need to break up dirt that is ground into the fibers. For fabric seats, use a detail brush or a stiff upholstery brush to agitate the material in a circular motion. Pay extra attention to high-traffic areas like the seat base and the lower backrest. For pet hair, a rubber squeegee or a rubber pet-hair brush can lift hair from fabric. Alternatively, use the brush attachment on your vacuum and work against the grain of the fabric to pull hair loose. For carpets, a stiff-bristled brush or a carpet rake (a tool with metal tines) can fluff the fibers and bring embedded sand to the surface.
4. Vacuum the Seats
With the seats brushed, vacuum them using the upholstery attachment. Start at the top of the seatback and work downward. For crevices between the seat cushion and the side bolsters, switch to the crevice tool. If your seats have power adjustments, move them forward and backward to access the tracks and the space under the seat. Vacuum the seatbelt webbing and the buckle area as well—dirt accumulates there and can cause wear over time.
5. Vacuum the Carpets and Floor
Now move to the floor area. Use the crevice tool along the edges where the carpet meets the door sill and center console. Then switch to the upholstery brush or a wide floor nozzle for the main carpet. Vacuum in overlapping passes, first in one direction, then perpendicular. This cross-hatch pattern lifts dirt from both directions of the carpet pile. If you have a carpet brush attachment, use it to agitate as you vacuum. For stubborn spots, spray a small amount of carpet cleaner or upholstery shampoo (test in an inconspicuous area first) and brush before vacuuming.
6. Clean the Trunk and Cargo Area
Repeat the same process for the trunk: remove the mat, brush the carpet, and vacuum thoroughly. Use the crevice tool around the spare tire well and any storage cubbies. If the trunk has a plastic liner, wipe it down with a microfiber towel after vacuuming.
7. Vacuum Vents, Crevices, and Hard-to-Reach Places
Use the crevice tool to reach into air vents (if your vacuum has enough suction, you can hold the nozzle over the vent openings). For deeper cleaning, a can of compressed air or a small blower can push dust out of vents so you can vacuum it from the outside. Also vacuum under the pedals, around the gas pedal, and behind the brake pedal—be careful not to dislodge any wiring or pedal covers. Check the gaps between the seat and the center console, the space under the front seats (where crumbs and coins fall), and the area around the seatbelt anchors.
8. Vacuum the Floor Mats
After the interior is done, vacuum the floor mats. If they are rubber or all-weather mats, you can rinse them with water and let them dry before reinstalling. Carpet mats should be vacuumed on both sides—dirt trapped underneath can transfer back to the car’s carpet. Use the brush attachment to lift dirt from the fibers, and if needed, spot clean with a carpet cleaner.
9. Empty the Vacuum Canister and Clean Filters
Once you finish, empty the vacuum’s collection bin or bag. A full bin reduces suction significantly. If your vacuum has a washable filter, remove it and tap out loose dust. Rinse it under water (if the manufacturer allows) and let it dry completely before the next use. For bagged vacuums, replace the bag when it is about two-thirds full. This maintenance step ensures your vacuum performs well next time.
Common Mistakes to Avoid
- Vacuuming before removing mats and loose items – You waste time cleaning around obstacles and miss dirt trapped under mats.
- Working from bottom to top – Dirt falls from above onto already cleaned surfaces, forcing you to re-vacuum.
- Using the wrong attachment – A wide floor nozzle on seats or a brush attachment on hard plastic can scratch surfaces or fail to pick up debris. Match the tool to the surface.
- Skipping the brush agitation step – Simply running a vacuum over carpet does not loosen deeply embedded dirt. Agitation is essential for a thorough clean.
- Ignoring the vacuum filter – A clogged filter reduces suction and can blow dust back into the car. Clean or replace filters regularly.
- Forgetting the trunk and cargo area – Dirt and debris in the trunk can get tracked into the cabin later.
Troubleshooting Common Issues
Vacuum loses suction quickly
Check the collection bin or bag—it may be full. Also inspect the filter; a dirty filter is the most common cause of suction loss. If the vacuum has a hose, look for clogs by bending the hose and listening for changes in airflow.
Pet hair remains after vacuuming
Pet hair is static-prone and can cling to fabric. Try a rubber brush or a squeegee before vacuuming. Alternatively, use a fabric softener sheet (rubbed lightly over the seat) to reduce static, then vacuum again. Some detailers use a pumice stone on carpet to lift hair, but test on an inconspicuous area first to avoid damage.
Dirt keeps reappearing from vents
If you vacuum vents and dust still blows out later, the dust is deep inside the ductwork. Use compressed air or a blower to push it out while holding a vacuum nozzle nearby. You can also set the car’s HVAC to recirculation mode and run the fan on high for a few minutes to dislodge loose particles, then vacuum the cabin air intake (usually under the hood near the windshield).
Cordless vacuum runs out of battery before finishing
Plan your work order to vacuum the dirtiest areas first (carpets and seats) while the battery is strongest. Use a lower power setting for lighter debris on hard surfaces. Having a second battery charged allows you to swap and continue. If your vacuum has a removable battery, consider purchasing an extra one.
FAQ
How often should I vacuum my car interior?
It depends on usage. A common rule of thumb is to vacuum the interior at least once a month to prevent dirt from grinding into carpets and fabric. If you frequently transport pets, children, or eat in the car, vacuum more often—every week or two.
Can I use a household vacuum cleaner on my car?
Yes, but you may need a crevice tool and a brush attachment. Household vacuums often have strong suction, but they can be bulky. Be careful not to scratch trim pieces with hard plastic nozzles. A dedicated car vacuum is more maneuverable and often comes with the right attachments.
Should I shampoo the carpets after vacuuming?
Vacuuming removes loose dirt; shampooing removes stains and embedded oils. If your carpets look clean after vacuuming, shampooing may not be necessary. For high-traffic areas or visible stains, a light shampooing or spot cleaning can improve appearance. Always follow the carpet manufacturer’s recommendations.
How do I clean fabric seats without a steam cleaner?
After vacuuming, you can use an upholstery cleaner spray and a soft brush to agitate the fabric. Blot with a clean microfiber towel to lift dirt. For deeper cleaning, a handheld upholstery extractor (available at auto parts stores) can be used, but it is not essential for routine maintenance.
Vacuuming your car interior like a detailer is a skill that improves with practice. By following the top-down order, using the right attachments, and taking time to agitate embedded dirt, you can achieve a clean that rivals a professional service. For more car care tips, explore our car care and detailing section, and if you are tackling exterior cleaning, see our guide on how to wash a car without a hose.