Packing a cooler for a road trip is about more than just tossing in ice and food. Getting the layering right, choosing the best ice type, and following basic food safety rules can mean the difference between fresh meals and a mess of spoiled groceries. This guide walks you through the entire process so your food stays cold and safe for the whole journey.
What You Need to Pack a Cooler the Right Way
Before you start packing, gather the right gear. Having everything ready in advance makes the process faster and helps the cooler hold its temperature longer.
- A well-insulated cooler. A thick-walled, quality cooler with a tight seal holds ice much longer than a cheap foam box. Rotomolded coolers are the most durable, but even a sturdy plastic model with a latch will perform well if you pack it carefully.
- Ice or ice packs. You have several options here, which are covered in detail below. At a minimum, plan to use enough ice to fill about one-third of the cooler volume.
- A separate drinks cooler (optional but recommended). If you are traveling with more than two people, or if your trip lasts longer than a single day, using one cooler for drinks and another for food is a game changer. Drink coolers get opened constantly, which lets cold air escape and ice melt faster. Keeping food in a separate cooler that stays closed most of the time keeps perishables colder longer.
- Reusable ice packs or frozen water bottles. These serve double duty as ice and as cold mass that keeps the interior temperature steady after the meltwater from loose ice drains away.
- An appliance thermometer. This is essential for food safety. A simple dial or digital thermometer placed inside the cooler lets you check that the internal temperature stays at 40°F or below. Relying on guesswork is not safe for perishable items.
- Sealable containers and leakproof bags. Raw meat, cut produce, and anything that might drip needs to be double-wrapped or placed in a watertight container. This prevents cross-contamination and keeps meltwater clean.
- A towel or blanket. Draping a towel over the cooler while it is in the car or placing it in the shade helps insulate it from direct sunlight and hot air.
Step-by-Step Guide to Packing a Cooler for a Road Trip
Step 1: Pre-Chill the Cooler and the Food
A warm cooler placed in a hot car will melt ice within hours. To give yourself a head start, pre-chill the cooler before you pack it. Place a bag of ice or several ice packs inside the empty cooler the night before your trip and close the lid. In the morning, dump out any meltwater and wipe the interior dry. The cooler walls will already be cold, so the fresh ice you add later will last much longer.
At the same time, pre-chill the food and drinks you plan to put inside. Avoid packing items that are still at room temperature or warmer. Cold items from the refrigerator go directly into the cooler. If you are buying drinks or perishables on the way, look for a store with a cold aisle and choose items that are already chilled.
Step 2: Choose and Prepare Your Ice
The type of ice you use makes a big difference in how long the cooler holds its temperature.
Block ice melts more slowly than cubes because it has less surface area exposed to warm air. If you want ice that lasts for multiple days on a long road trip, block ice is the best choice. You can buy block ice at many grocery stores or make your own by freezing water in a clean plastic container or milk jug. A frozen gallon jug of water functions as a huge block of ice and also gives you cold drinking water as it melts.
Ice cubes from a bag are convenient but melt quickly. They are fine for a single day trip with frequent drink refills, but they are not ideal for keeping food cold over multiple days. Cubes fill the gaps between items well, so they work best in combination with block ice or reusable packs.
Reusable ice packs are a solid middle ground. They stay frozen longer than cubes and do not produce messy meltwater. They are excellent for food coolers because the interior stays dry. Plan to use several packs and rotate them from a freezer stash if your trip lasts more than one day.
Frozen water bottles combine the benefits of block ice and reusable packs. They are cheap, easy to prepare, and give you cold drinking water as they thaw. Freeze several bottles upright so the caps do not leak. Place them at the bottom of the cooler to create a cold floor that keeps the food above it at a safe temperature.
Step 3: Layer for Temperature Control and Convenience
Layering is the most important part of packing a cooler for a road trip. The goal is to keep the cold air inside and minimize how often you open the lid. Here is the recommended order from bottom to top.
Bottom layer: a solid base of ice. Place block ice, frozen water bottles, or large reusable ice packs on the bottom of the cooler. This creates a cold reservoir that stays frozen for the longest time. If you are using block ice, set it directly on the bottom. If you are using frozen bottles, lay them flat in a single layer.
Second layer: raw meat and highly perishable items. Place raw meat, poultry, and seafood in leakproof containers or sealed bags, then put them directly on the ice layer. If you have block ice, place the wrapped meat on top of it. If you have bottles or packs, arrange the meat so it has direct contact with the cold surface. This keeps it at the coldest part of the cooler and prevents any drips from contaminating other food.
Third layer: other perishable food. Dairy, deli meats, cooked leftovers, cut fruit, and prepared salads go here. Pack them in containers or bags and arrange them tightly so there are no large air gaps. The colder the food is when it goes in, the longer it stays safe.
Top layer: drinks and snacks. If you are using a single cooler for both food and drinks, place drinks on top. They are the items you will reach for most often. If the drink cooler is separate, put drinks in their own cooler and leave the food cooler closed as much as possible.
Last step: fill every gap with more ice. Pour loose ice cubes or crushed ice into the spaces between containers. Air is the enemy of cold retention. Any empty pocket of warm air forces the ice to work harder. Fill the cooler to the brim so that when you close the lid, the contents are packed solid and the lid presses down evenly.
Step 4: Add an Appliance Thermometer and Close Tightly
Place an appliance thermometer on top of the food layer so you can read it when you open the cooler. Close the lid and secure it with any latches or clips the cooler has. A loose seal lets cold air escape. If your cooler does not have a secure latch, you can bungee the lid shut or place something heavy on top to keep it closed.
Ice Options Compared
| Ice Type | Best For | Meltwater | Duration |
|---|---|---|---|
| Block ice | Long trips, food coolers | Some meltwater, lasts longer | Longest |
| Ice cubes | Short trips, drink coolers | Fast melting, slushy water | Shortest |
| Reusable ice packs | Food coolers, no mess | No meltwater | Medium to long |
| Frozen water bottles | Dual use as ice and drinking water | Some meltwater, drinkable | Long |
For most road trips longer than a single day, a combination of block ice or frozen bottles at the bottom and reusable packs or cubes in the gaps gives the best balance of longevity and convenience.
Food Safety Rules for Cooler Packing
The United States Department of Agriculture (USDA) recommends keeping perishable food at or below 40°F to prevent bacterial growth. Using an appliance thermometer is the only reliable way to confirm the interior stays at a safe temperature. If the thermometer reads above 40°F for more than two hours, the food in that cooler is no longer safe to eat.
Raw meat must go at the bottom. This is not just about temperature. Even in a leakproof container, raw meat juices can escape. Placing raw meat on the bottom of the cooler, below all other food, prevents any accidental drips from touching ready-to-eat items.
Do not rely on meltwater. Some people believe that draining the meltwater makes the ice last longer because water conducts heat faster than ice. In practice, the benefit is minor, and the water helps keep items submerged and cold. If you are concerned about soggy food, use reusable ice packs or pack food in waterproof containers.
When in doubt, throw it out. If you open the cooler and find that the ice has completely melted, the interior temperature is warm, or you cannot remember how long the cooler has been above 40°F, discard any perishable food. It is not worth the risk of foodborne illness. Non-perishable items like unopened condiments, whole fruit, and sealed drinks are fine.
Keeping the Cooler Cold on the Road
Once the cooler is packed and in the car, your job is to keep the cold inside as long as possible.
Keep the cooler out of direct sun. Place it in the passenger cabin rather than the trunk if the trunk gets hot. If the car is parked, put the cooler on the floor behind the front seats or in a spot where it is shaded by the interior. Cover it with a towel or blanket for added insulation. Never leave a cooler in direct sunlight for an extended period, especially if the outside temperature is above 80°F.
Minimize lid openings. Every time you open the cooler, cold air spills out and warm air rushes in. Plan ahead. Take out several drinks at once instead of one at a time. Ask everyone what they want before you open the lid. If you have a separate drink cooler, use that for frequent access and leave the food cooler closed until you are ready for a meal.
Restock ice as needed. On long trips, you will need to add ice every day or two depending on the outside temperature and how often the cooler is opened. Buy bagged ice at gas stations or grocery stores along the route. Before adding new ice, check the internal temperature with your thermometer. If it is still below 40°F, fresh ice will help maintain that. If it has crept above, remove the warmest items or discard any that have been warm for too long.
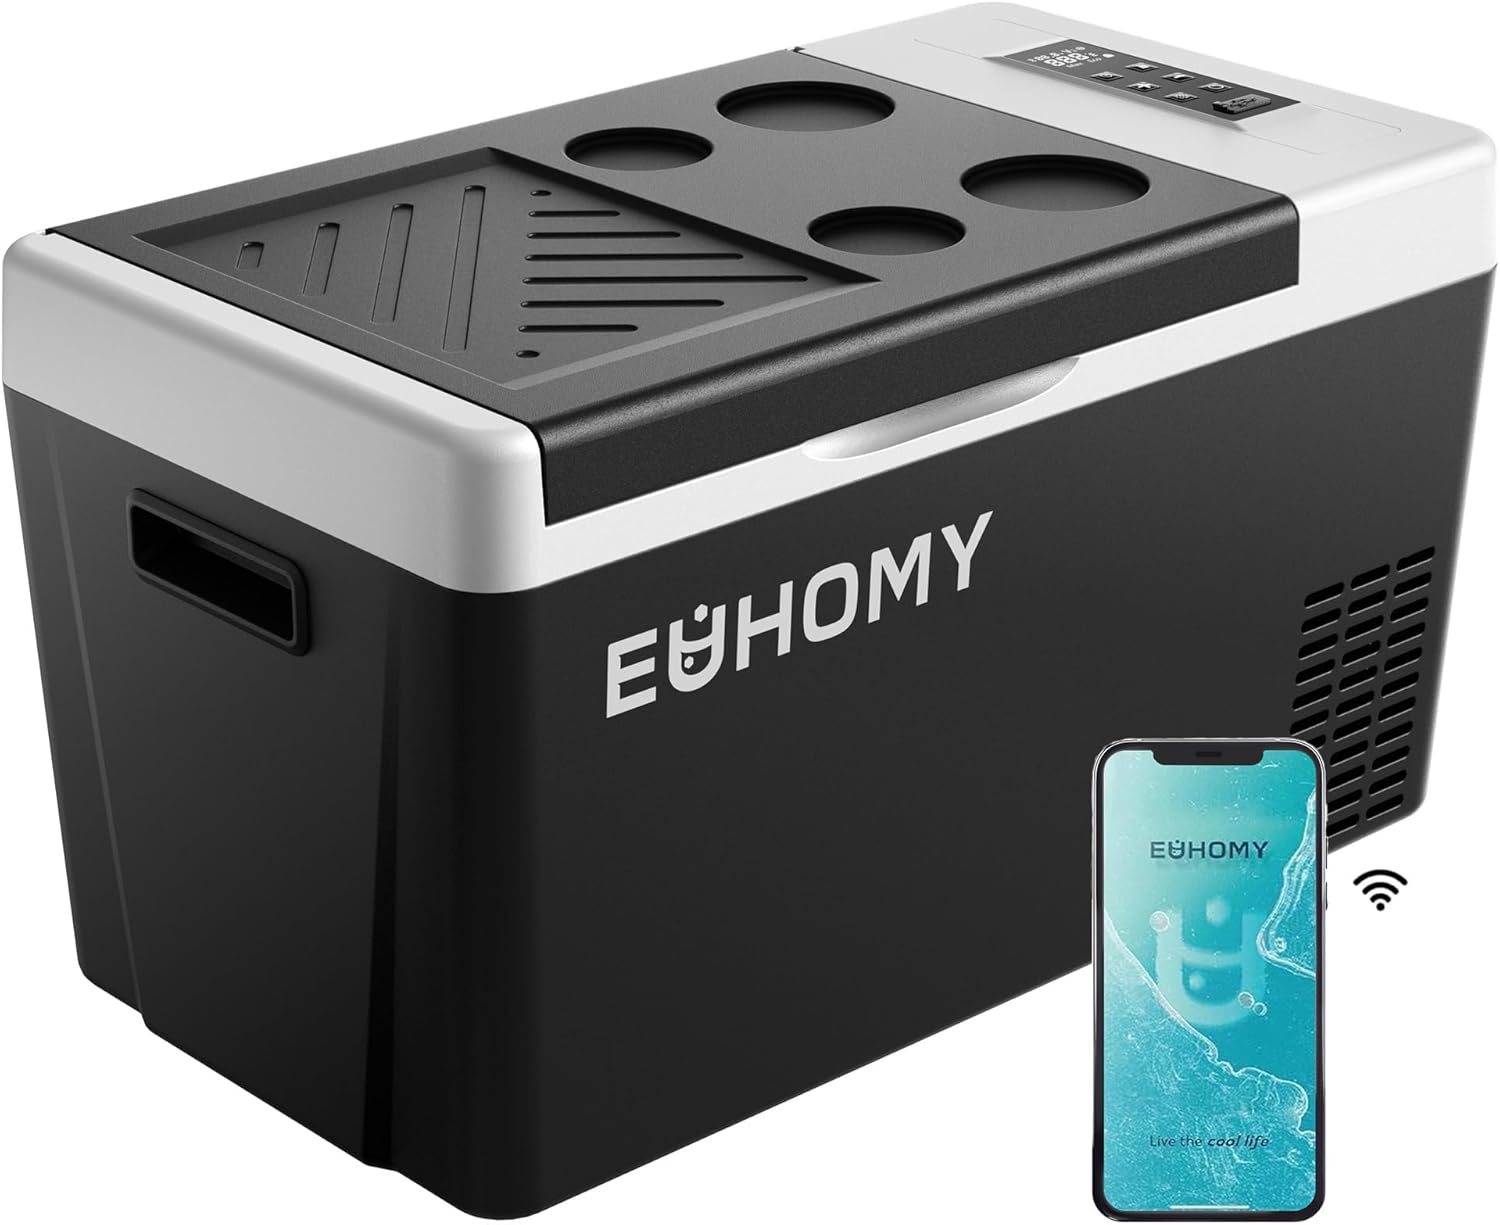
Consider a 12V electric cooler. For very long trips or for traveling in extremely hot weather, a 12V electric cooler or portable fridge can be a worthwhile upgrade. These devices plug into your vehicle’s power outlet and maintain a precise temperature without relying on ice. They are more expensive than a standard cooler and require a power source, but they remove the guesswork from food safety. If you are interested in this option, compare the size, power draw, and temperature range of different models to find one that fits your trip. For more details, see the guide on car coolers and 12V fridges.
FAQ
Should I drain the meltwater from the cooler?
Draining meltwater does not make the ice last significantly longer. The water keeps items submerged and helps maintain a cold environment. If you prefer a dry cooler, use reusable ice packs or pack food in sealed containers rather than draining frequently. The one exception is if the drain valve leaks in your car or if the meltwater is dirty from raw meat packaging. In that case, drain carefully and plug the cooler tightly afterward.
Can I pack raw meat and drinks in the same cooler?
Yes, as long as the raw meat is sealed in leakproof containers or double-bagged and placed at the bottom of the cooler. The drinks can go on top in a separate layer. Follow the same layering rules: raw meat at the bottom, other food in the middle, drinks on top. If you have the space, using two coolers is the safer and more convenient approach. A separate cooler for drinks also keeps the food cooler closed longer. Read more about organizing your gear in the road trip accessories guide.
How long will ice last in a cooler for a road trip?
The duration depends on the cooler quality, the type and amount of ice, the outside temperature, and how often the lid is opened. A well-packed cooler with block ice and a tight seal can keep ice for multiple days in moderate weather. A cheap cooler with cubes that is opened frequently may lose all its ice within a single afternoon. The best way to know is to use an appliance thermometer and check the temperature rather than guessing based on ice volume. If you are starting a multi-day trip, plan to restock ice at least once along the route. For families traveling with children, you may appreciate the tips in the road trip accessories for kids guide to make the journey smoother.
What if the cooler temperature goes above 40°F while I am driving?
If you notice the temperature rising, check whether the ice has melted and whether the cooler is in direct sun. Move the cooler to a shaded spot, add fresh ice, and close the lid. If the temperature has been above 40°F for more than two hours, discard any perishable food inside. Do not rely on re-chilling it later. Bacteria can grow rapidly at unsafe temperatures even if the food looks and smells fine. When in doubt, throw it out.
Packing a cooler for a road trip does not have to be complicated, but it does require a plan. Pre-chill everything, choose the right ice type for your trip length, layer food and drinks deliberately, and monitor the internal temperature with a thermometer. Following these steps keeps your food fresh and safe from the first mile to the last, so you can enjoy the drive without worrying about what is inside the cooler. For more ideas on making the whole trip more comfortable, take a look at the road trip comfort accessories for long drives page.