Setting the correct torque on your lug nuts is one of the simplest ways to keep wheels safely attached and prevent brake rotor warping or stud breakage. The torque value printed in your vehicle owner’s manual is the result of engineering tests; using a torque wrench ensures each nut or bolt is tightened to that exact specification. This guide compares the main types of torque wrenches (click, beam, and digital), explains how to select the right drive size and range, and covers the step-by-step method for torquing lug nuts, including the star pattern, the recommended re-check after a short drive, and how to store and calibrate your tool.
Why Lug Nuts Need the Specified Torque
Every wheel assembly has a factory-recommended torque value for the lug nuts or bolts. That number balances two goals: keeping the wheel clamped firmly against the hub and avoiding overstretching or damaging the studs. Under-tightening can allow the wheel to loosen during driving, while over-tightening can warp brake rotors, crack alloy wheels, or cause studs to fail. The proper torque also ensures even clamping force across all fasteners, which is critical because the wheel’s centering and braking surfaces rely on uniform pressure. You should always look up your vehicle’s specific torque specification in the owner’s manual or on a sticker inside the driver’s door jamb or glove box. If you cannot find it, consult a dealership or a reliable repair database.
Types of Torque Wrenches for Lug Nuts
Three common types of torque wrenches are available for car maintenance: click-type, beam-type, and digital/electronic. Each has strengths and weaknesses for lug nut work.
Click-Type Torque Wrench
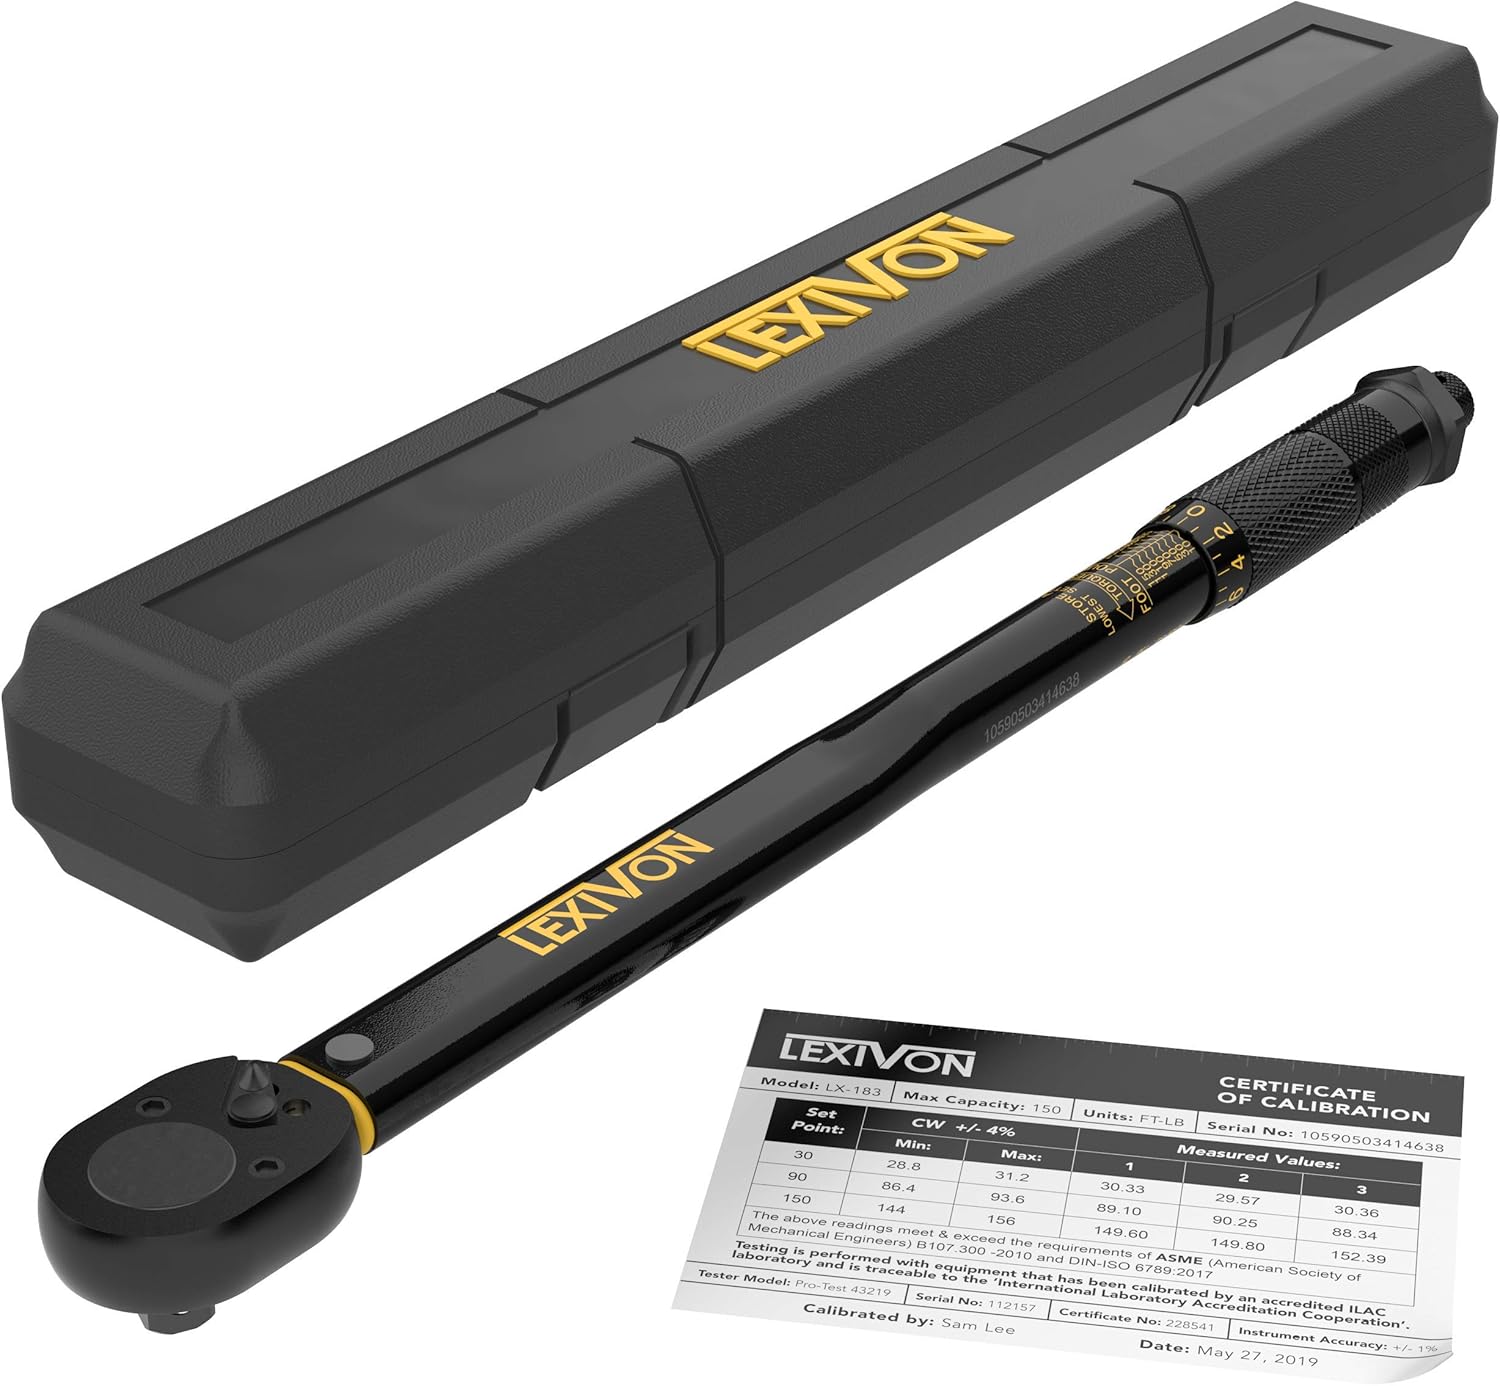
A click wrench uses an internal spring and a clutch mechanism. You set the desired torque on a scale, and when you apply force and reach that value, the tool emits an audible click and a brief slack feeling. This is the most popular choice among home mechanics and professionals because it is relatively affordable, reasonably accurate, and easy to use in tight spaces—you do not need to look at a gauge while tightening. Click wrenches hold the accuracy stated by their manufacturer when they are used and stored properly. The main drawback is that you must reset the tool to its lowest setting after each use to preserve the spring’s calibration over time.
Beam-Type Torque Wrench
A beam wrench has a long pointer that deflects along a scale as you apply force. You watch the pointer align with the desired torque mark on the beam. This type is mechanically simple, does not rely on an internal spring, and is generally less expensive. It never needs calibration in the traditional sense because there is no spring to lose tension, but the pointer can be bent if dropped. Beam wrenches are less convenient for lug nuts because you have to keep your eyes on the scale while tightening, which can be awkward when working around a wheel. They are best for occasional use or as a backup.
Digital (Electronic) Torque Wrench
Digital torque wrenches use a strain gauge and a microprocessor to measure torque. They show the reading on an LCD screen and often have audible and visual alerts when the target is reached. Advantages include high accuracy, easy switching between units (foot-pounds, Newton-meters, inch-pounds), and built-in memory for logging readings. Some models have a peak-hold function that records the maximum torque applied, which is useful when you cannot see the display in tight wheel wells. The downsides are higher cost, reliance on batteries, and potential for electronic failure if dropped or exposed to moisture. Many digital wrenches still recommend storing at a low setting to protect the internal sensor.
Choosing the Right Drive Size and Torque Range
Lug nuts on passenger cars, SUVs, and light trucks typically call for torque values between 80 and 150 foot-pounds. Most people use a 1/2-inch drive torque wrench for lug nuts. Some smaller vehicles, such as compact cars, use torque specs around 65–100 foot-pounds, which is still within range of a 3/8-inch drive wrench, but the stronger 1/2-inch drive handle is more comfortable and less likely to be overloaded.
You should select a torque wrench whose range comfortably covers the specification you need. For example, if your lug nuts require 100 foot-pounds, a wrench rated from 20 to 150 foot-pounds is ideal. Avoid using a wrench at the very top or bottom of its range; accuracy is best in the middle third of its scale. A 1/2-inch drive click-type wrench with a range of 20 to 150 foot-pounds is a good universal choice for most cars and SUVs. For larger trucks or heavy-duty vehicles with specs above 150 foot-pounds, look for a 3/4-inch drive model with a higher range. Check the manufacturer’s recommended range for the wrench you are considering and compare it to your vehicle’s specification.
Step-by-Step Guide to Torquing Lug Nuts
Step 1: Prepare the Vehicle and Tools
Park on a level surface, engage the parking brake, and chock the opposite wheels. If you are changing a tire, follow safe jacking procedures—never work under a vehicle supported only by a jack. Use jack stands as described in our how to use a floor jack and jack stands safely guide. Gather your torque wrench, the correct socket (commonly 19 mm, 21 mm or 13/16 inch, but check your lug nut size), and a breaker bar for loosening nuts. Do not use the torque wrench to loosen lug nuts—that can damage its calibration.
Step 2: Tighten Lug Nuts by Hand or with a Breaker Bar
If you have removed the wheel, first start the lug nuts by hand to avoid cross-threading. Run them down until they are snug using a breaker bar or a standard wrench, but do not fully tighten them yet. For a quick wheel change, use a cross wrench or impact gun (set to low power) to snug them, then switch to the torque wrench for final tightening.
Step 3: Set Your Torque Wrench
Look up your vehicle’s lug nut torque spec. Set the wrench to that value according to the manufacturer’s instructions. For a click-type wrench, loosen the locking collar, turn the handle until the scale lines up with the desired number, then lock it. For a digital wrench, use the buttons to enter the target torque. Confirm the unit (foot-pounds or Newton-meters) matches your spec.
Step 4: Tighten in a Star Pattern
Tighten the lug nuts in a star or crisscross pattern, not in a circle. For a five-lug wheel, skip one nut each time: top, lower right, upper left, upper right, lower left. For a four-lug wheel, tighten opposite nuts. For six or eight lugs, follow a similar crossing pattern. This ensures even clamping force and prevents the wheel from seating unevenly. Apply steady, even pressure on the torque wrench until you hear a click (or see a reading) for each nut. Do not jerk or pull quickly; smooth motion gives a more accurate result. Tighten each nut to the same torque in sequence, then go around the pattern once more to confirm all are at spec.
Step 5: Re-Check After a Short Drive
After driving a short distance (many shops suggest within the first 50 to 100 miles), the wheel can settle and the lug nuts can loosen slightly due to thermal cycles and seating of the wheel against the hub. Re-torque each nut in the star pattern to the same specification. This is especially important after mounting new tires, after a tire rotation, or if the wheel was recently removed. Some vehicle manufacturers recommend this re-check; check your owner’s manual for their guidance.
Common Mistakes When Using a Torque Wrench on Lug Nuts
- Using the torque wrench to loosen lug nuts. This applies force in the opposite direction and can throw off the internal calibration of click and digital wrenches. Always loosen with a breaker bar or standard socket wrench, then switch to the torque wrench for final tightening.
- Setting the wrench outside its range. Using a wrench near its minimum or maximum reduces accuracy. For example, a 20–150 foot-pound wrench should not be used for a 10 foot-pound spec (common on some small fasteners) because it will be inaccurate.
- Ignoring the star pattern. Tightening in a circle can cause the rotor to warp or the wheel to sit unevenly, leading to vibration and potential loosening.
- Not re-torquing after a short drive. Many people skip this step, but it is a common recommendation from tire shops and manufacturers to ensure the wheel stays tight.
- Storing a click-type wrench at a high setting. Leaving the spring compressed at a high torque value can cause it to weaken over time, reducing accuracy. Always reset the wrench to its lowest setting before storing.
- Dropping the wrench. A drop, especially on a hard surface, can damage internal components or bend the beam. If you drop your torque wrench, you should have it calibrated before relying on it for critical fasteners.
Troubleshooting Torque Wrench Issues
You hear a click but the nut is not tight enough
Possible causes: the wrench is set incorrectly (check the scale), the tool needs calibration, or you are applying the force too quickly. For click wrenches, the click is a signal to stop—if you keep turning past the click, you may over-torque. If the nut still feels loose after the click, re-check the setting and try tightening again slowly. If it consistently under-torques, the wrench may need recalibration.
The torque wrench feels “spongy” or does not click
This often indicates a worn or damaged internal spring. For click wrenches, the mechanism may need repair or replacement. For digital wrenches, check battery level and ensure the sensor is not damaged. If a beam-type wrench gives inconsistent readings, the pointer may be bent—compare it to a known accurate wrench.
Digital display shows an error or inaccurate reading
Check the battery first. Low batteries can cause erratic readings. Make sure you are not exceeding the maximum torque of the wrench, which can damage the sensor. If the wrench was dropped, calibration may be off.
Lug nuts loosen after driving despite torquing
If you followed the correct procedure and re-torqued after a short drive, persistent loosening could indicate a problem with the wheel or hub: corrosion on the mounting surface, damaged threads, or incorrect wheel fitment. Clean the hub and wheel mating surfaces and inspect the studs. If the issue continues, consult a mechanic.
Calibration Checks for Accuracy
All torque wrenches, regardless of type, can drift out of specification over time due to wear, drops, or improper storage. A common rule of thumb is to have your torque wrench calibrated at least once a year if you use it regularly, or any time after it has been dropped or subjected to an overload. Some manufacturers offer recalibration services, or you can take it to a local tool calibration lab. For a quick home check, you can use a known weight and a calibrated lever arm—but this method requires care and is less accurate than professional calibration. A simpler check is to compare readings with another torque wrench that you trust. For example, tighten a nut to a specific value with your wrench, then immediately check it with a known-good wrench to see if they agree. If the difference exceeds the manufacturer’s stated accuracy, it is time for a professional calibration.
Digital wrenches often include a self-test or calibration mode; follow the manual for guidance. Beam wrenches are less prone to drift but can still be damaged if the pointer bends. For critical fasteners like lug nuts, you want to be confident your tool is accurate. If you have any doubt, have the wrench calibrated or replace it.
Storage and Maintenance
Proper storage extends the life of your torque wrench and preserves its accuracy:
- After each use, set a click-type wrench to its lowest torque setting (usually the bottom of the scale) to relieve tension on the internal spring. Do not leave it at the maximum.
- Store the wrench in its original case or a padded drawer to protect it from bumps and moisture.
- Keep digital wrenches away from extreme heat or cold, and remove batteries if storing for long periods to prevent leakage.
- Wipe the tool clean after use, especially if you were working in a dusty or greasy environment. Do not immerse it in solvents.
- Lubricate moving parts only if the manufacturer recommends it; otherwise, leave it dry.
When to Use a Torque Wrench vs. Other Tools
For routine tire changes, many drivers rely on an impact gun or cross wrench, but these tools do not provide controlled torque. An impact gun can easily over-torque lug nuts, leading to brake rotor warping or stripped studs. A torque wrench is the only tool that lets you set a precise value. That said, you can use a torque wrench for more than just lug nuts: it is also useful for engine bolts, suspension components, brake caliper bolts, and spark plugs. Investing in a quality torque wrench and learning to use it correctly will pay off in safer, longer-lasting vehicle fasteners. For a broader selection of tools, browse our torque wrenches guide and the full garage and car tools section.
Top Picks to Compare
If you would rather start from a short list, these are popular options on Amazon for this search. Check each listing’s details, size and current price before you buy.


FAQ
Do I really need a torque wrench for lug nuts?
Yes. Using a torque wrench ensures the lug nuts are tightened to the exact specification in your owner’s manual. This prevents the wheel from loosening and avoids damage from over-tightening. A standard wrench or impact gun cannot guarantee the correct torque.
Can I use a beam-type torque wrench for lug nuts?
You can, but it is less convenient because you must watch the scale while tightening. Beam wrenches are also bulkier and harder to use in the confined space of a wheel well. A click-type or digital wrench is generally easier for this task.
How often should I have my torque wrench calibrated?
For regular home use (a few times a month), calibration once a year is typical. If you drop the wrench, use it at maximum torque frequently, or notice inconsistent clicks, have it checked sooner. Many tool rental shops and calibration labs offer this service for a modest fee.
What happens if I over-torque my lug nuts?
Over-torquing can stretch or break the studs, warp the brake rotor, crack an alloy wheel, or cause the wheel to sit unevenly. It also makes future removal difficult. Using a torque wrench set to the correct spec prevents these problems.
Choosing the right torque wrench—click, beam, or digital—and using it correctly with the proper drive size and range is essential for safe wheel installation. Always follow the manufacturer’s torque specification, use a star pattern, and re-check after a short drive. Proper storage and periodic calibration keep your wrench accurate for years. For more tool recommendations, see our automotive tool kit guide.